
Last updated November 15, 2026
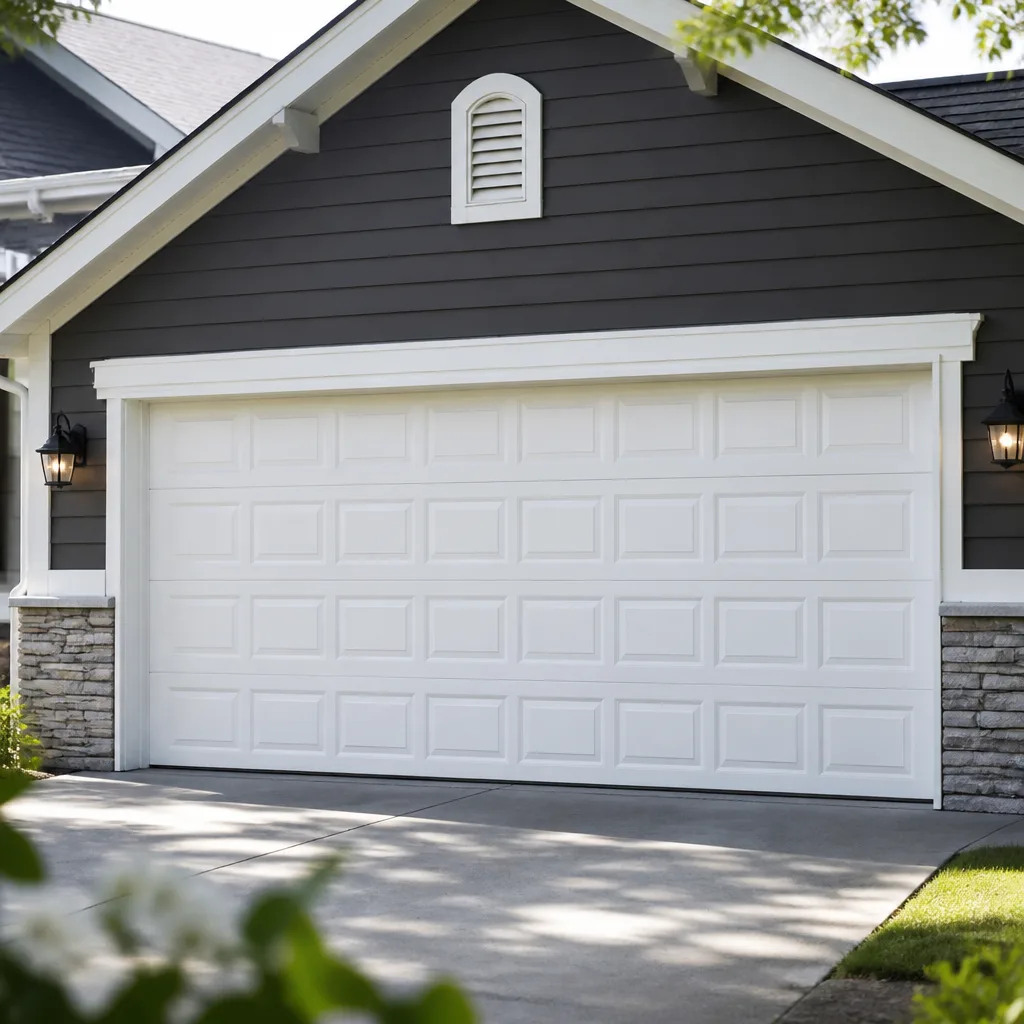 Raised-panel steel
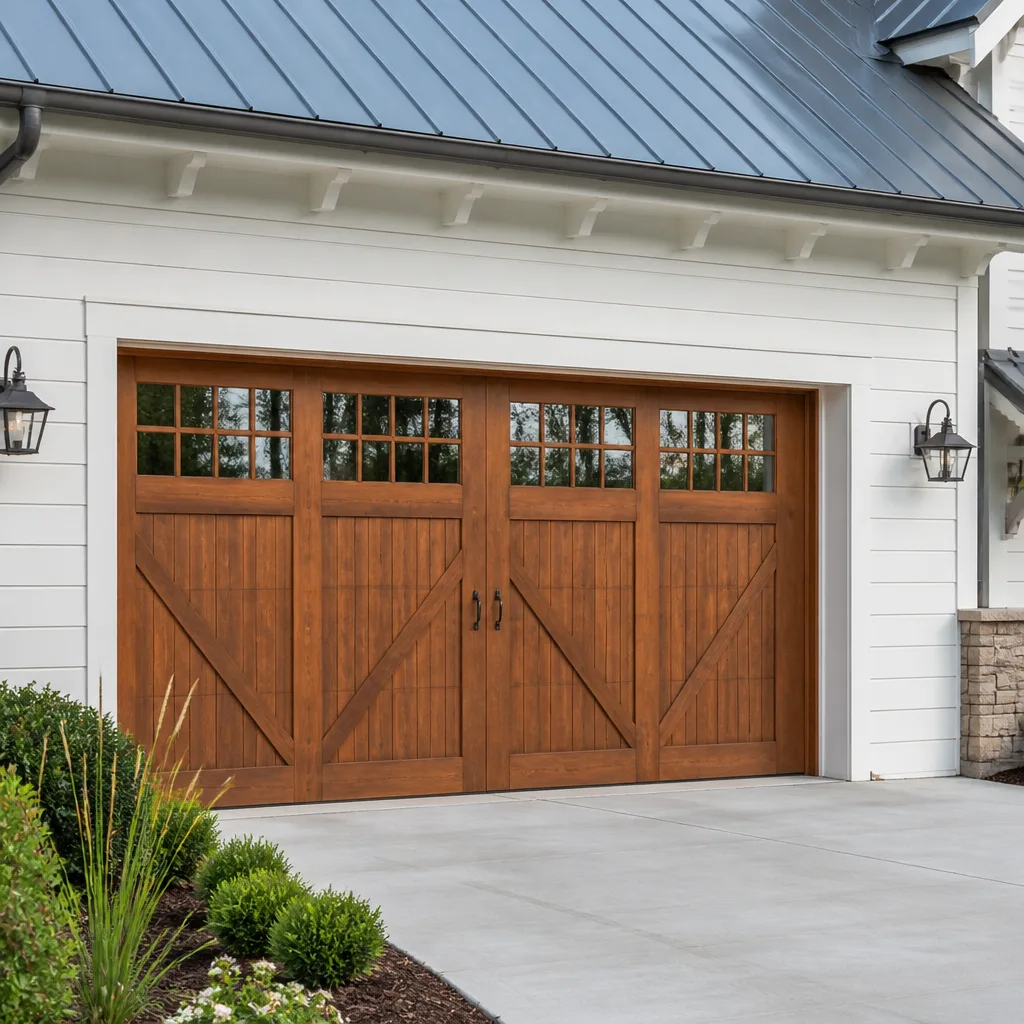 Carriage house
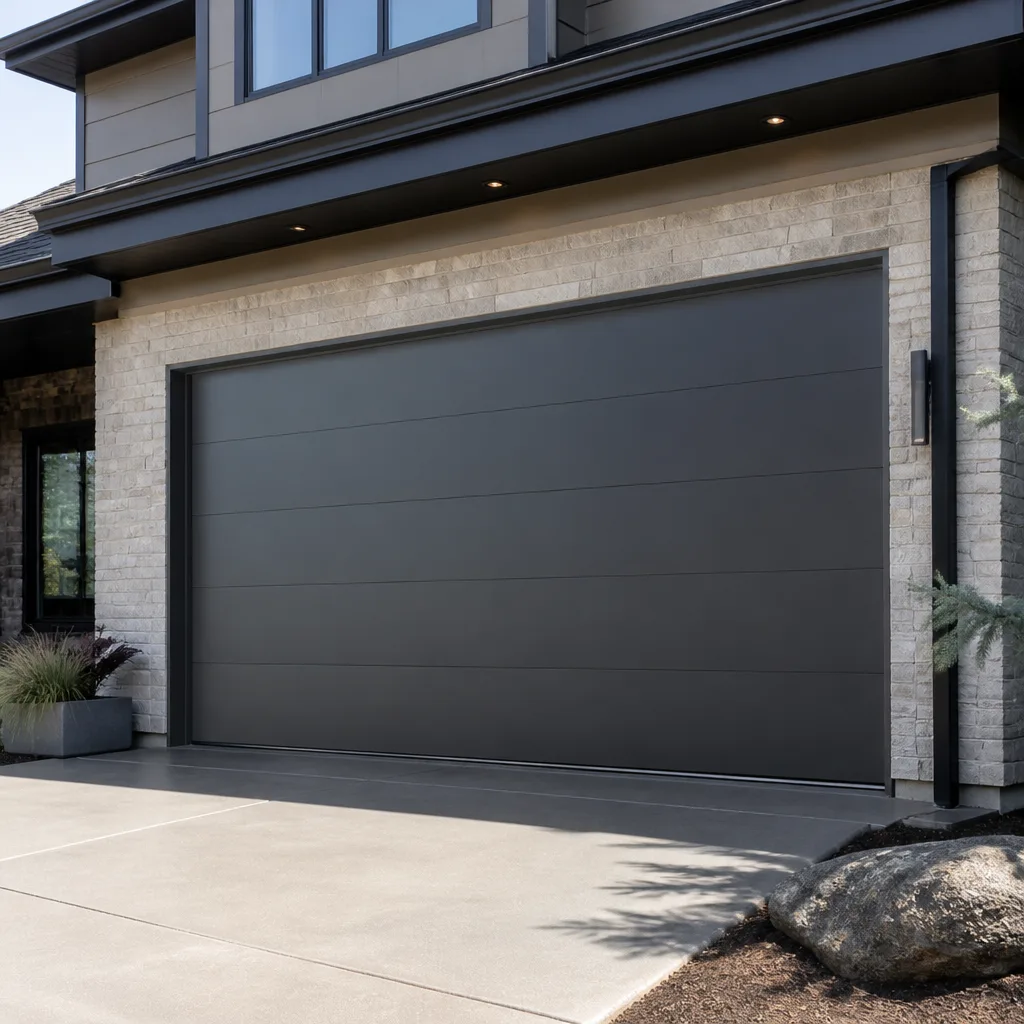 Modern flush
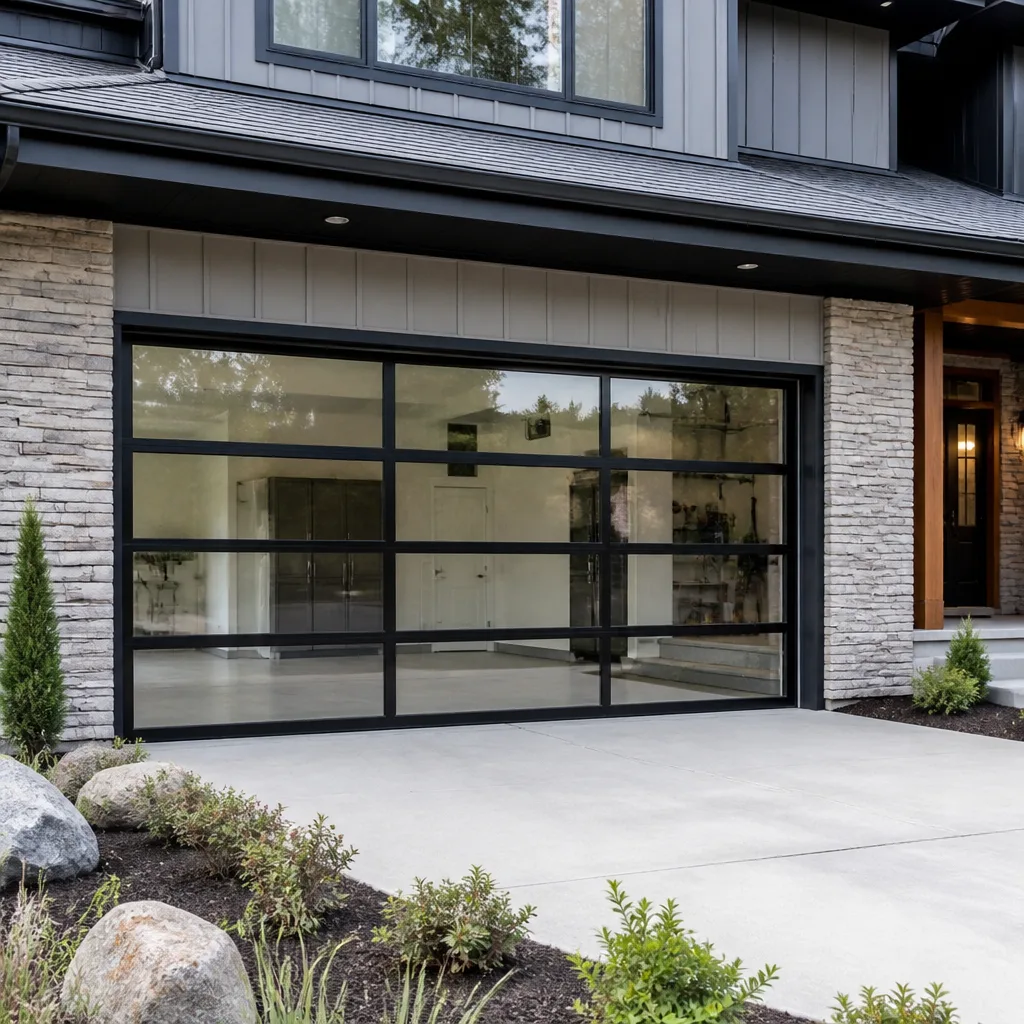 Full-view glass
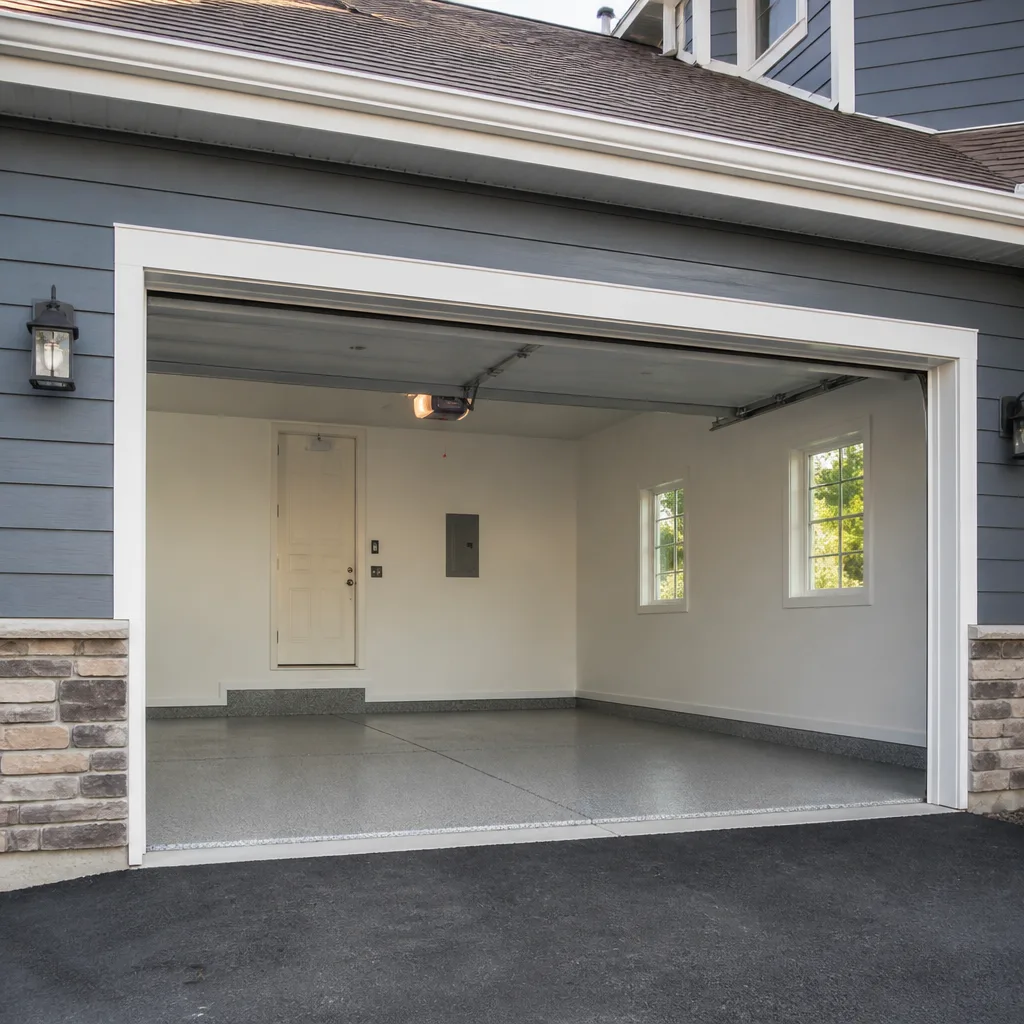 LiftMaster openers
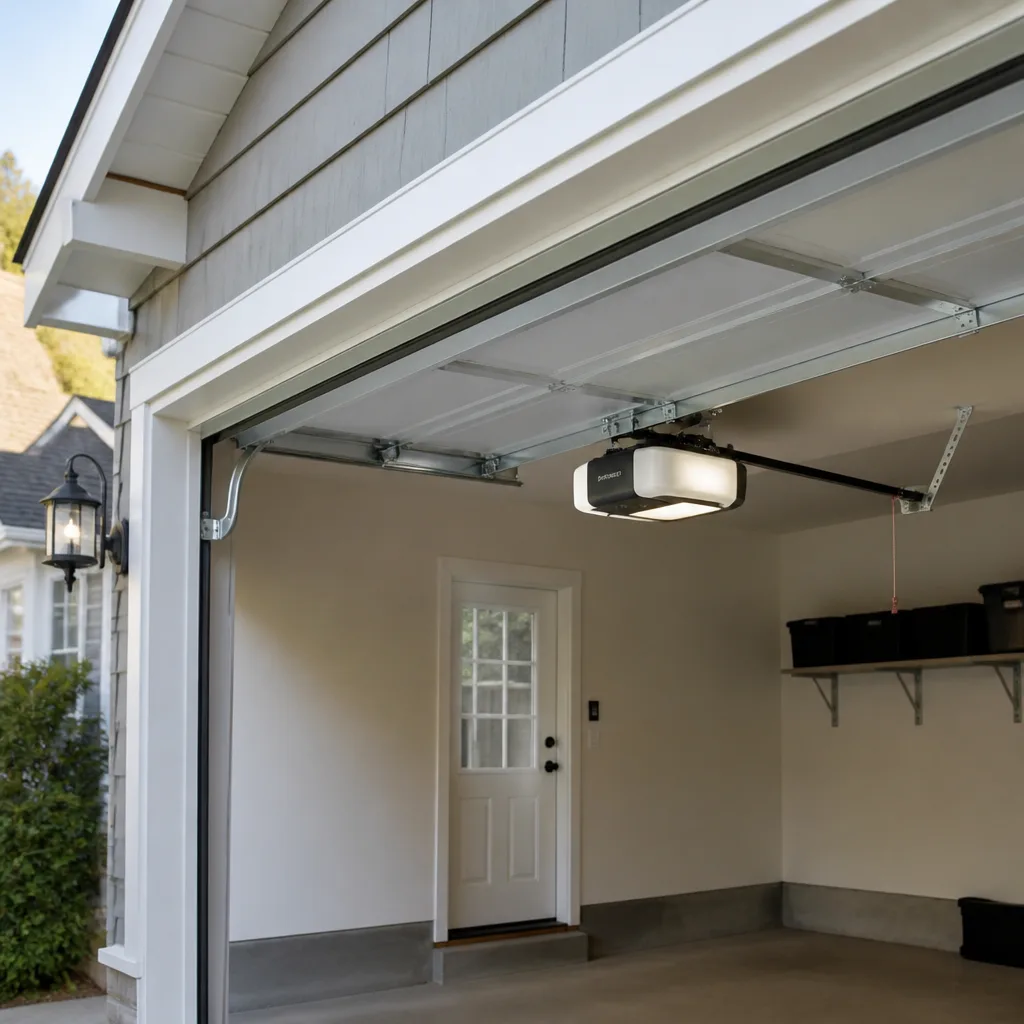 Chamberlain openers
Full 25-point door and opener safety check with every visit - springs, cables, rollers, tracks, and your LiftMaster or Chamberlain opener included
You get a price before we start. It does not change when the pro arrives.
Get your free estimateDIY vs Professional Garage Door: The Cambridge Homeowner’s Decision Guide
Torsion springs store hundreds of foot-pounds of torque, and that single fact should decide most garage door repair questions before skill level even enters the conversation. The videos showing a confident homeowner swapping a torsion spring aren’t wrong about the technique. They’re wrong about who should decide to try it, and based on what: the actual system in front of them, not a generic door in a generic garage. Cambridge makes that decision harder than most places, because so many of the garages here were never built to a predictable standard. This guide separates the tasks you can safely handle from the ones that need a technician, compares the real cost of each path, and gives you a way to assess your own door before you touch a tool.
Quick Answer
On a Cambridge garage door, DIY is a reasonable choice for low-risk maintenance: lubrication, safety sensor alignment, bottom seal replacement, and remote or keypad programming. Anything involving stored mechanical energy – torsion springs, extension springs, cables, drums, and bent track or structural work – belongs with a trained technician, because those parts can release suddenly and cause serious injury. The dividing line isn’t how handy you are. It’s whether the task puts your hands in the path of stored force.
Styles & brands we work with
- Raised-panel steel
- Carriage house
- Modern flush
- Full-view glass
- LiftMaster openers
- Chamberlain openers
Table of Contents
- The One Question That Decides It: Does the Task Hold Stored Energy?
- The Task Taxonomy: What You Can Do and What You Can’t
- Why Cambridge Garages Raise the Complexity Bar
- The Real Cost Comparison: DIY vs. a Technician
- Assess Your Own Door: Three Measurements and Two Tests
- The Opener Layer: Where DIY Goes Wrong Quietly
- When a DIY Attempt Reveals Something Bigger
- A Starter Set of Safe DIY Tasks
The One Question That Decides It: Does the Task Hold Stored Energy?
Most DIY-versus-professional advice for homes frames the choice as a skill question. Can you handle a wrench, do you understand the mechanism, have you watched enough videos. For garage doors, that framing misses the actual risk. A garage door is one of the few systems in a house that keeps a large amount of mechanical energy in storage, waiting, every hour it sits closed. A torsion spring holds the full weight of the door in tension. A cable holds that spring in check. When either one lets go without warning, the release is violent and the parts move fast.
That’s why the useful question is simpler than “am I capable?” It’s “does this task put me near stored energy?” Lubricating rollers, clearing an obstruction, and adjusting a photo-eye keep your hands on parts that carry no stored load. Those are genuinely DIY-friendly. Replacing a spring, tightening a loose cable, or re-seating a cable drum puts you inside the energy system. No amount of confidence changes what happens if the parts slip.
We’ve seen this play out in our work across Cambridge. A homeowner who can rebuild a bicycle or rewire a lamp will still call us for a spring, and that’s the right call. The judgment isn’t about the person. It’s about the part.
- Low-energy tasks (DIY is reasonable): lubrication, sensor alignment, bottom seal replacement, remote and keypad programming, visual inspection.
- High-energy tasks (needs a technician): torsion spring replacement, extension spring replacement, cable replacement, drum work, track straightening, panel and structural work.
The Task Taxonomy: What You Can Do and What You Can’t
A clear task split saves Cambridge homeowners both money and risk. Here’s how most of the jobs that come up on a home garage door break down, sorted by where your hands actually go.
Tasks you can safely do yourself
- Lubrication. A light application on hinges, rollers, and the torsion bar bearing plates keeps the system quiet and reduces wear. Use a garage door lubricant, not household oil.
- Safety sensor alignment. If the door reverses on its own, the photo-eye is usually out of line. Nudge the sensor back until its indicator light settles and the door closes cleanly.
- Bottom seal and weatherstrip replacement. These slide or pull out and press back in. This is one of the few rubber-parts jobs that’s forgiving, with one Cambridge caveat covered below.
- Remote and keypad programming. Reprogramming a LiftMaster or Craftsman remote is a button sequence from the opener’s manual, and it’s safe to attempt.
- Clearing the track of debris. Leaves, grit, and small objects lodged in the track cause sticking. Removing them is fine; bending the track to fix it is not.
- Visual inspection. Look for frayed cables, worn rollers, gaps at the bottom, and rust on the springs. Spotting a problem early is always worth doing.
Tasks that need a trained technician
- Torsion spring replacement. This is the highest-risk job on the door. The spring holds the door’s weight, and the winding bars that hold it in place are unforgiving.
- Extension spring replacement. Lower-risk than torsion, but still under load and still capable of a dangerous release.
- Cable and drum replacement. Cables run under the spring’s tension. A slack or snapped cable means the energy is already releasing.
- Track repair and realignment. A bent track can pull a door off its rollers. Straightening it needs the door off the track and the geometry set correctly.
- Panel and structural work. Replacing a dented section requires resetting the door’s balance, which means working inside the spring system.
If your door is making a sound you can’t place or moving unevenly, a proper diagnosis is the first step. That’s where a specialist is faster, because we start from the specific brand and system rather than guessing. Our garage door repair work begins with identifying the root cause, not with a parts list.
Why Cambridge Garages Raise the Complexity Bar
Cambridge isn’t a place of neat, standardized carports. The city’s housing stock runs from triple-deckers and older wood-frame homes to converted carriage houses and narrow infill lots, and a lot of the garages attached to them were built to fit a specific lot rather than a catalog. That produces doors and openings that don’t match a standard spec, and it turns some “simple” tasks into jobs that need a measurement before you buy a part.
Non-standard widths and low headers
Older garages in Cambridge often sit at widths that aren’t the standard 8 or 9 feet, and many have a low header above the opening because the building wasn’t designed around a modern door. That matters for bottom seal and weatherstrip swaps: an off-the-shelf strip may not sit flush, and a low header can change how the door travels. You can still do the replacement yourself, but measure the opening before you buy, and don’t force a strip that doesn’t fit.
Tight quarters and shared structures
In denser parts of the city, a garage might share a wall with a neighboring building or sit close to a fence line. That affects how much room you have to work and how a track or door adjustment affects the structure around it. A technician who has worked on tight-lot garages knows how to move a door without disturbing a shared wall.
Seasonal movement
Cambridge’s freeze-and-thaw cycle, mixed with humid summers, works on wood framing and metal hardware all year. Doors that were aligned in October can bind in February. That seasonal shift is a reason a door suddenly needs attention on a Tuesday in March, not a sign of a bad door. It’s also why a repair done with the door in a seasonal bind can be set wrong: the fix has to account for how the framing moves, not just how it looks that day.
None of this makes DIY impossible. It means you can’t assume the door in front of you is built to the same spec as the one in a video. When a garage door opener repair is on the table, that brand familiarity matters even more, because the opener’s behavior tells you a lot about what the door itself is doing.
The Real Cost Comparison: DIY vs. a Technician
The cost comparison everyone wants is a simple number, but a real one has to include the costs the price tag doesn’t show: tools, time, and the chance of a callback repair if the first attempt doesn’t hold. Here’s the honest version.
Where DIY genuinely saves money
- Lubrication: a can of garage door lubricant and fifteen minutes. A technician visit is unlikely to be worth it for this alone, though it’s often rolled into a larger job.
- Sensor alignment: free if you can nudge the sensor back in line. If the sensor is physically damaged, that’s a parts job.
- Remote programming: a manual and a few minutes. Rarely worth a service call on its own.
- Bottom seal replacement: a modest part cost. A reasonable DIY job once you’ve measured the opening.
Where DIY costs more than it saves
- Tools you’ll use once. A torsion winding bar set, proper springs sized to the door, and safe work supports are a real outlay for a job you’ll do once every decade or so.
- Time you didn’t budget. Measuring, sourcing the correct spring, and re-balancing the door can eat a weekend. On a non-standard Cambridge door, the sourcing alone can take multiple trips.
- The callback. A spring or cable job that doesn’t quite hold means calling a technician anyway, on top of the parts you already bought. That’s the failure mode that turns a money-saver into a cost.
- The damage risk. A dropped door or a bent track during a DIY attempt can turn a repair into a replacement. That’s the scenario where the bill goes from parts-money to new-door money.
We never quote a single number for both springs on a torsion system. A matched pair is usually replaced together, and a pair costs about twice the price of one. Where a parts-only job is genuinely within reach, we’ll say so. Where a repair is no longer cost-effective, our Ashford Garage Door Repair team will lay out a full replacement instead, so you’re deciding between two real options rather than being nudged toward the bigger one.
Assess Your Own Door: Three Measurements and Two Tests
Before you decide, learn whether your door is standard enough for DIY troubleshooting. This is a short assessment, not a repair, and it’s the step that tells you what you’re working with.
The three measurements
- Opening width and height. Measure the clear opening at its narrowest point, inside the frame, top to bottom. Note any variance. A door that isn’t the standard 8 or 9 feet wide by 7 feet tall is a flag that off-the-shelf parts may not fit, and Cambridge’s older garages are full of these.
- Spring type and location. Look at the top of the door. If you see a horizontal shaft with one or two coiled springs running along it, that’s a torsion setup. If you see springs running parallel to the tracks on either side, that’s extension. Knowing which you have tells you which jobs are off the DIY list.
- Panel and seal condition. Note the thickness and shape of the bottom seal and any gaps between panels. This tells you whether a seal swap is straightforward or whether the opening has drifted and will need a technician’s eye.
The two tests
- The balance test. With the door closed and the opener disconnected (use the manual release on the trolley), lift the door by hand to about waist height and let go. A well-balanced door stays in place. A door that drops or rises on its own has a balance problem, and that’s a technician job because the fix lives in the springs.
- The reverse test. With the door closing, wave something in front of the photo-eye. The door should reverse. If it doesn’t, the sensor needs attention, and that’s often within DIY reach. If the door still fails to reverse after you’ve aligned the sensor and cleared the path, stop and call a technician.
Write down what you find. If the answers land inside the safe DIY zone, proceed to the small tasks. If anything points to springs, cables, or balance, that’s the signal to stop. Call (866) 361-7938. We answer 24/7. Fast dispatch from 7am to 7pm, Sunday through Friday.
The Opener Layer: Where DIY Goes Wrong Quietly
The door and the opener are one system, and misdiagnosing which one is failing is one of the most common and expensive DIY mistakes we see. A door that stops halfway could be a failing spring, a bent track, or a dying opener motor. If you assume the opener and buy a new one, you’ve spent money on the wrong part and the door still won’t work.
There are a few patterns worth knowing. If the opener runs but the door doesn’t move, the problem is usually in the connection between the door and the opener arm, or the springs. If the opener clicks and stops, that points to the opener’s motor or logic board. If the door moves unevenly and the opener strains, the door itself is binding and the opener is just the messenger. Smart and Wi-Fi-enabled openers add another layer: connectivity dropouts, app pairing, and sensor wiring can look like mechanical failures when they aren’t. A LiftMaster that won’t respond to its app is often a network or pairing issue, not a motor issue.
This is where brand familiarity saves real money. When we work on a LiftMaster, a Chamberlain, a Genie, or a Craftsman, we already know the model family’s failure points, so we can narrow the diagnosis quickly instead of swapping parts to see what sticks. That’s not a reason to skip a safe DIY check. It’s the reason to stop when the check doesn’t produce a clear answer. If the symptoms don’t fit one clean cause, have it looked at.
When a DIY Attempt Reveals Something Bigger
A DIY attempt that turns out bigger than expected is common enough that you should plan for it before you start. Here’s how to leave the door in a stable, safe state while you wait for a technician.
- Stop applying force. If something has let go or the door is moving unevenly, don’t try to horse it into position. Stored energy and a shifting door are a bad combination.
- Don’t force a stuck door down or up. A door stuck in a partly open position is often safer left there than forced to close against a jammed track or a loose cable.
- Disconnect the opener at the trolley. The manual release lets the opener stop pulling against a door it can’t move. This alone prevents further strain on the motor.
- Secure the door if it’s in a raised or unstable position. Use clamps or a support that keeps a partly open door from dropping. Don’t stand or reach underneath a door that isn’t held up by something you trust.
- Clear the area below the door and keep kids and pets away until it’s inspected.
- Photograph the parts that moved or loosened. A technician can often diagnose from a photo before arriving, which shortens the visit.
- Call for a repair. Tell us what you found. We answer 24/7. Fast dispatch from 7am to 7pm, Sunday through Friday.
There’s no shame in stopping. A door left stable and untouched is the correct outcome of a cautious attempt. What we don’t want is a homeowner who kept going because they’d already invested the time. The door will be there when a technician arrives.
A Starter Set of Safe DIY Tasks
If you want to keep your Cambridge door in good shape, here are the tasks worth doing yourself, in the order they’ll pay off. Keep a small kit and a note of your door’s measurements, spring type, and opener brand. When something comes up that isn’t on this list, that note is exactly what a technician needs to move quickly.
- Monthly: clear debris from the tracks and check that the photo-eye is unobstructed and aligned.
- Twice a year: lubricate hinges, rollers, and bearing plates with a garage door lubricant.
- Fall and spring: inspect the bottom seal and replace it if it’s cracked, torn, or sitting loose in the retainer.
- As needed: reprogram remotes and keypads from the opener’s manual, and re-pair a smart opener after a router change.
- Whenever something sounds wrong: run the balance and reverse tests above before assuming the opener is at fault.
Anything involving the springs, the cables, the drums, the track, or a door that no longer balances gets a call. That includes a Raynor or Wayne Dalton door in an older Cambridge garage, where the model’s balance characteristics are worth knowing before anyone adjusts anything. A specialist can measure, diagnose, and quote before any work starts, so you know the price before the job begins.
Common Mistakes to Avoid
- Treating a spring like a DIY part. Torsion springs hold the door’s full weight. Attempting to swap one without proper winding bars and a secure door is how serious injuries happen, and it’s the one mistake that can’t be walked back.
- Assuming your door is a standard size. Cambridge’s older and infill garages often aren’t 8 or 9 feet wide. Buying off-the-shelf seals or parts before measuring is how a small job becomes a return trip and a refund.
- Blaming the opener for a door problem. A binding door strains the opener. Replacing the opener without checking balance or track can leave the new unit failing the same way.
- Bending a track back into shape by eye. A track that’s off by even a small amount throws off the door’s travel and can pull it off its rollers. Track work belongs with a technician.
- Ignoring a seasonal bind. Cambridge’s freeze-and-thaw cycle can make a door stick in winter and seem fine by summer. That’s a sign the door needs adjustment, not a sign to wait it out.
- Thinking a lubrication job needs a service call. The flip side of overreaching is paying for a technician on a job that’s fifteen minutes of your own time. Know which category you’re in.
- Leaving a door in an unsafe position after a failed attempt. A partly open door that isn’t supported, with the opener still connected, is a hazard. Disconnect it and secure it.
See the difference
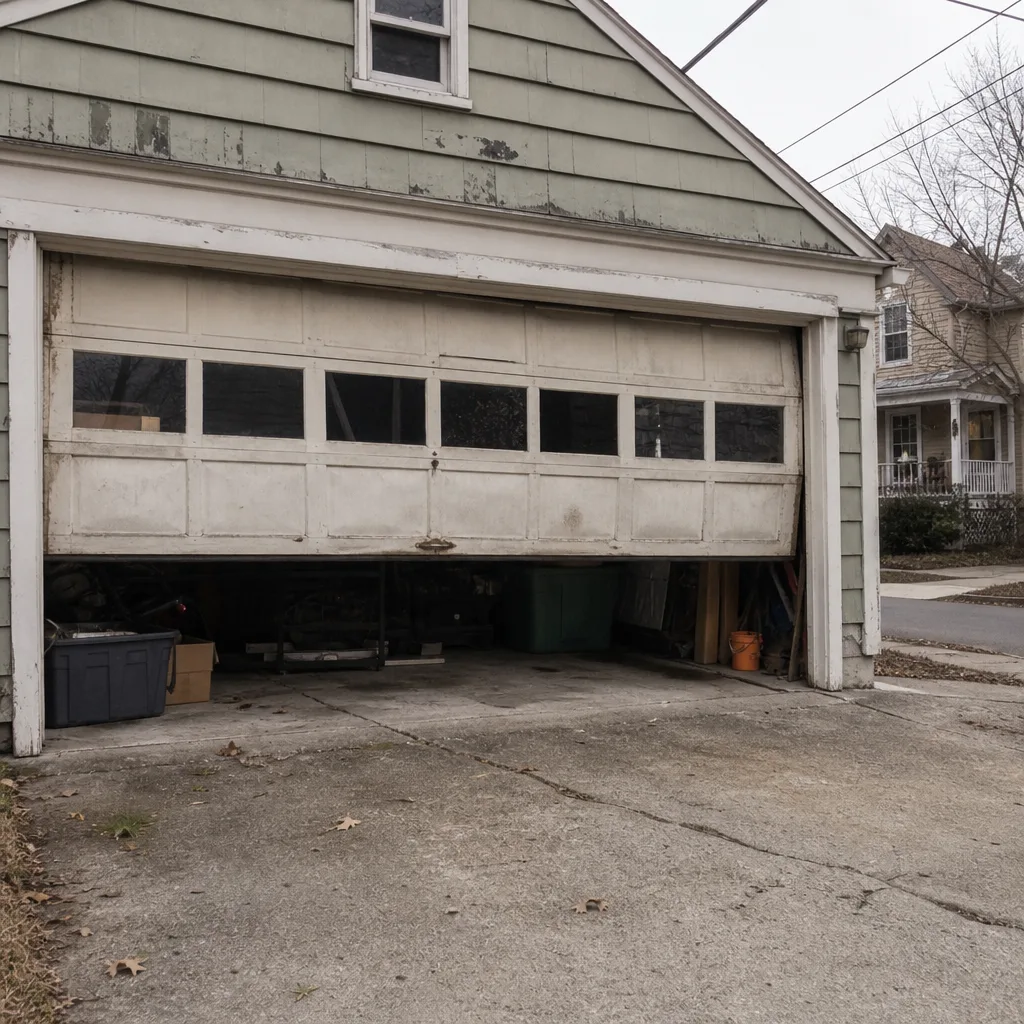 Before
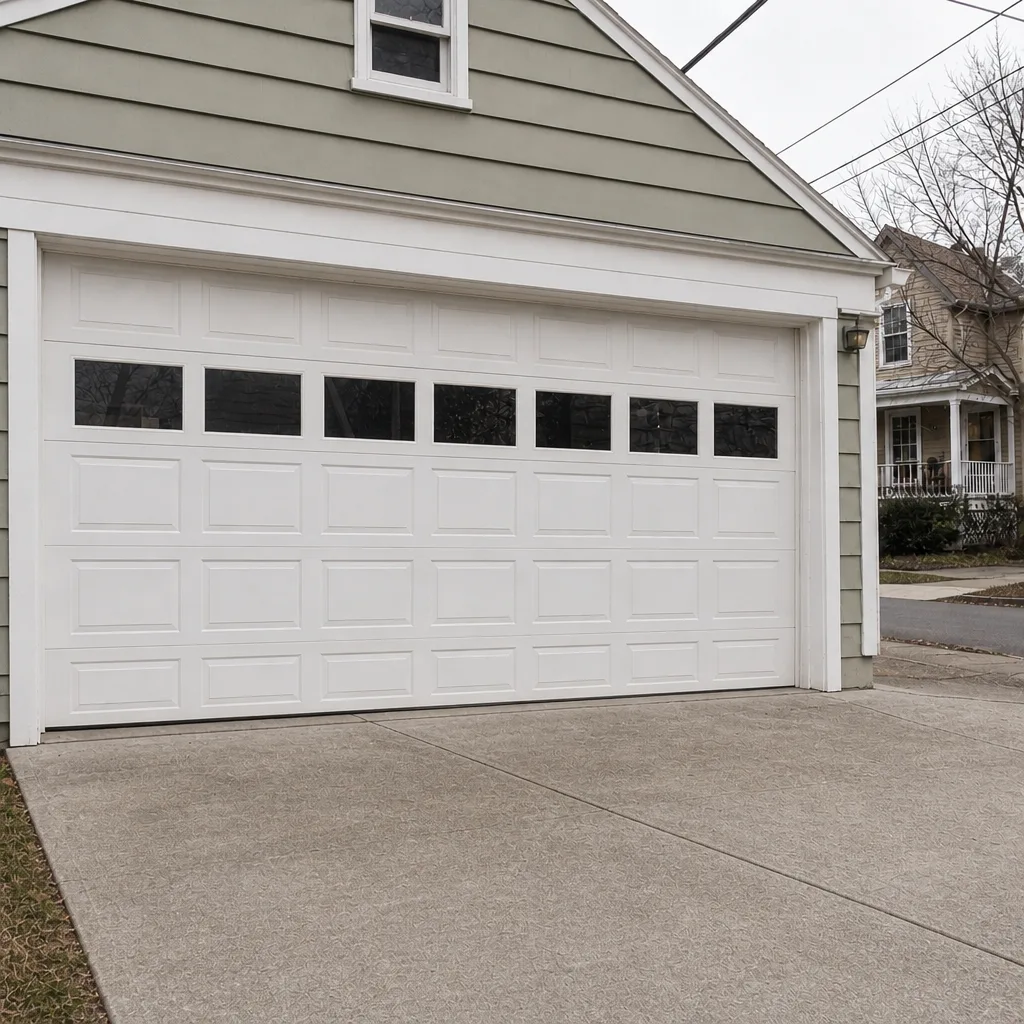 After
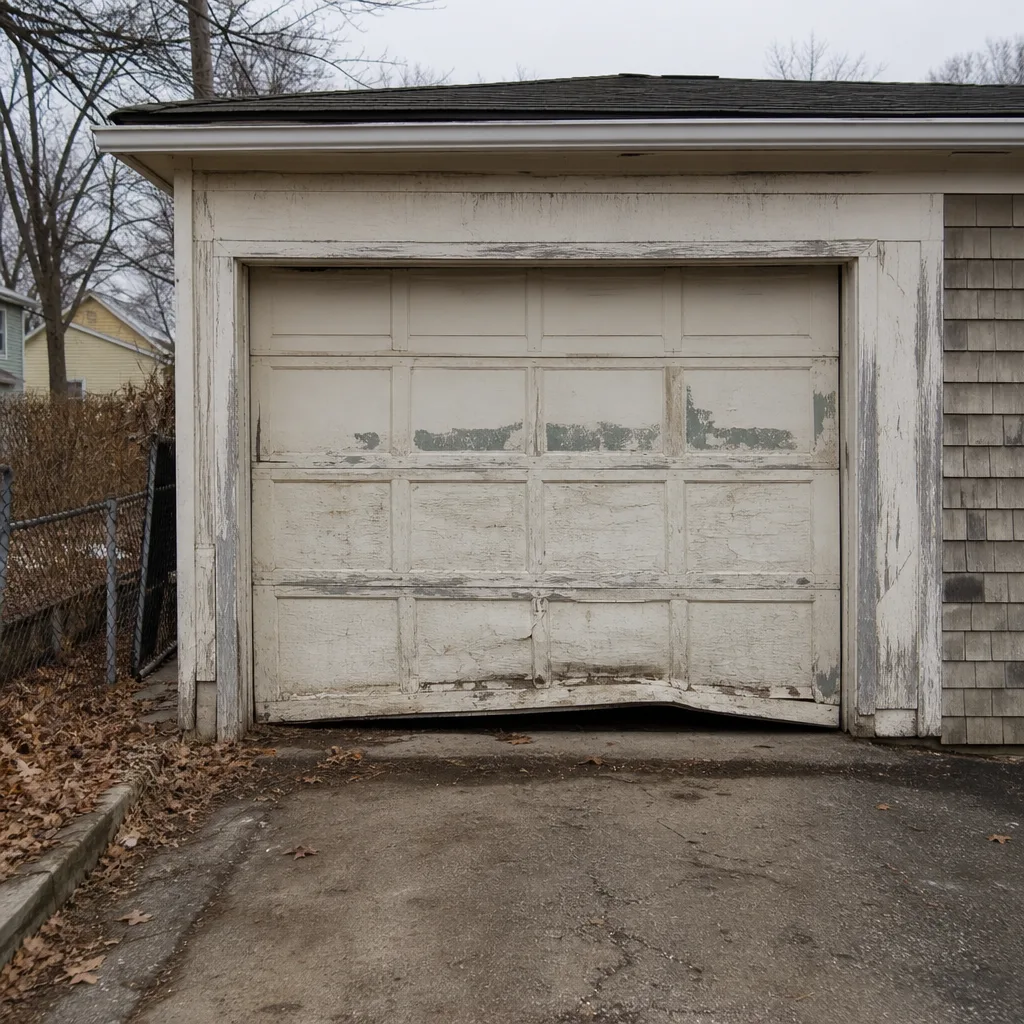 Before
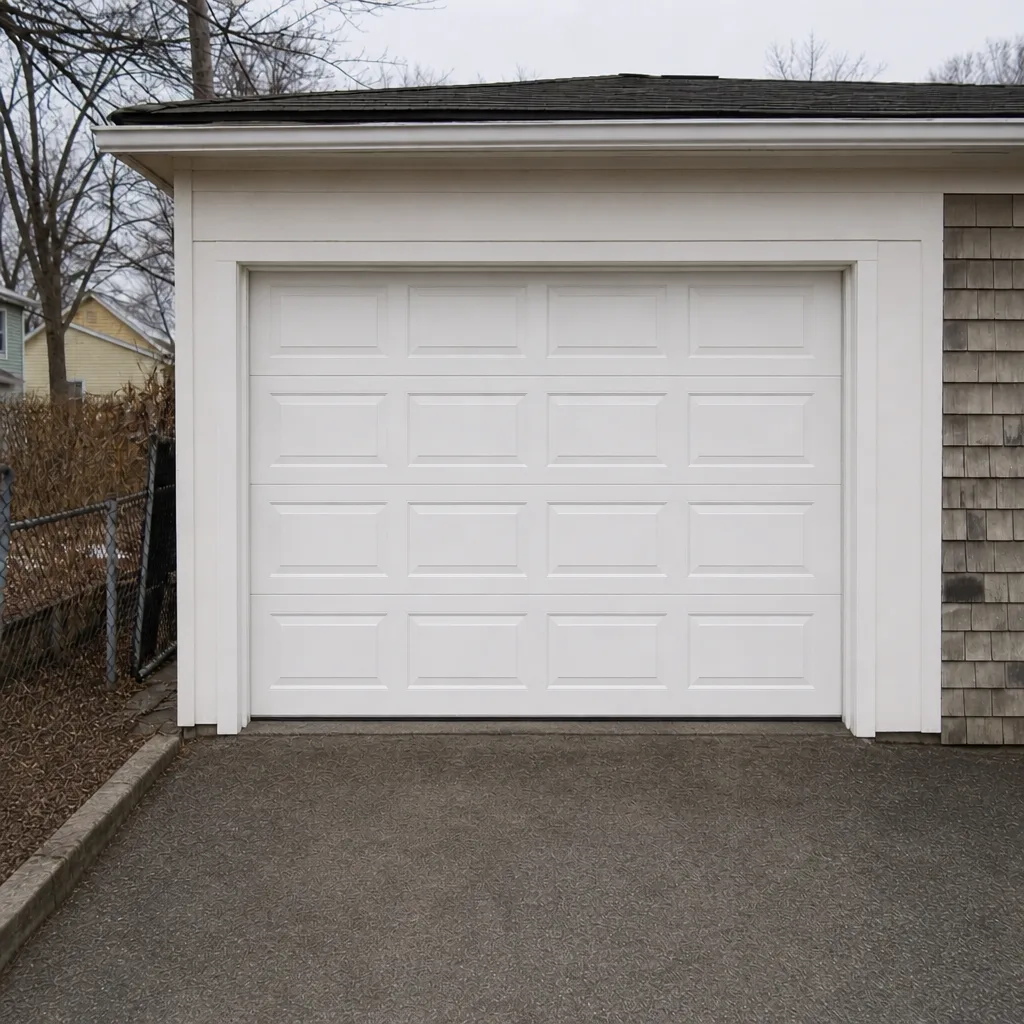 After
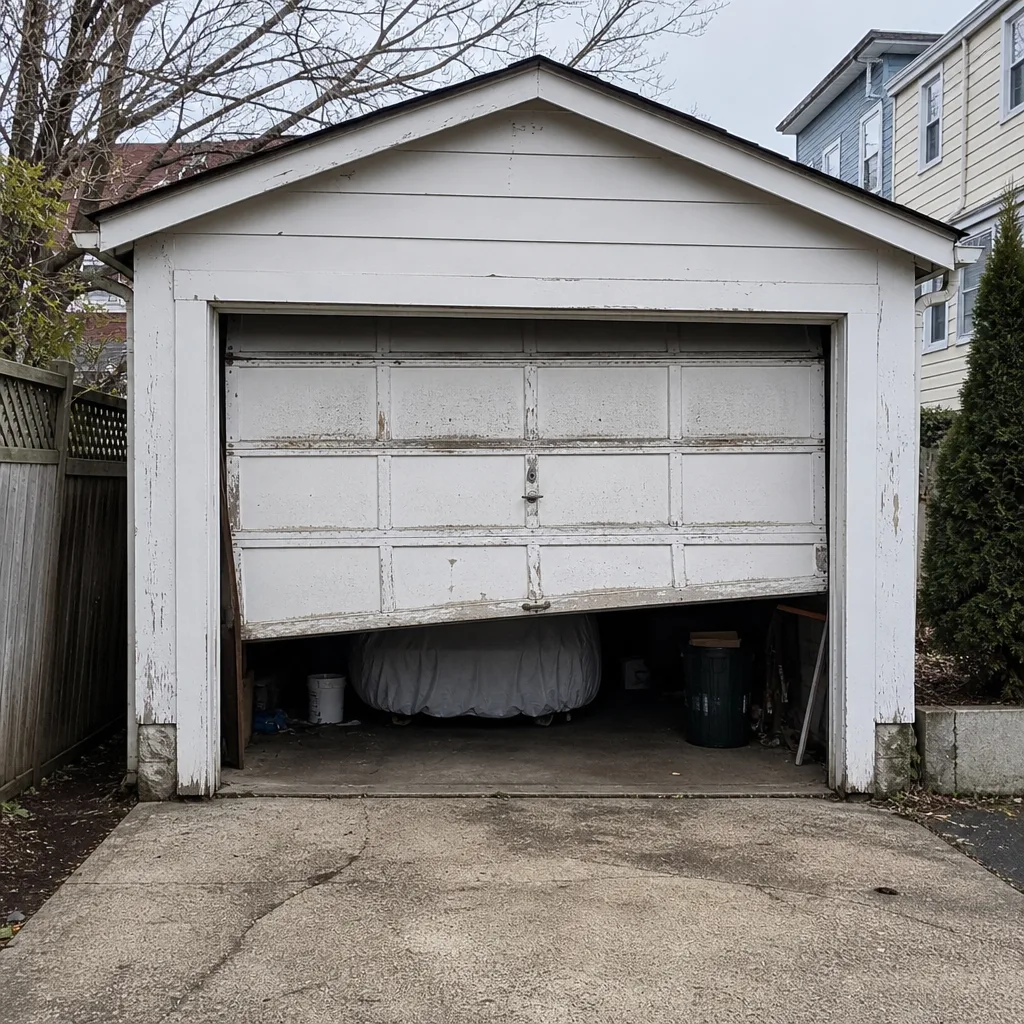 Before
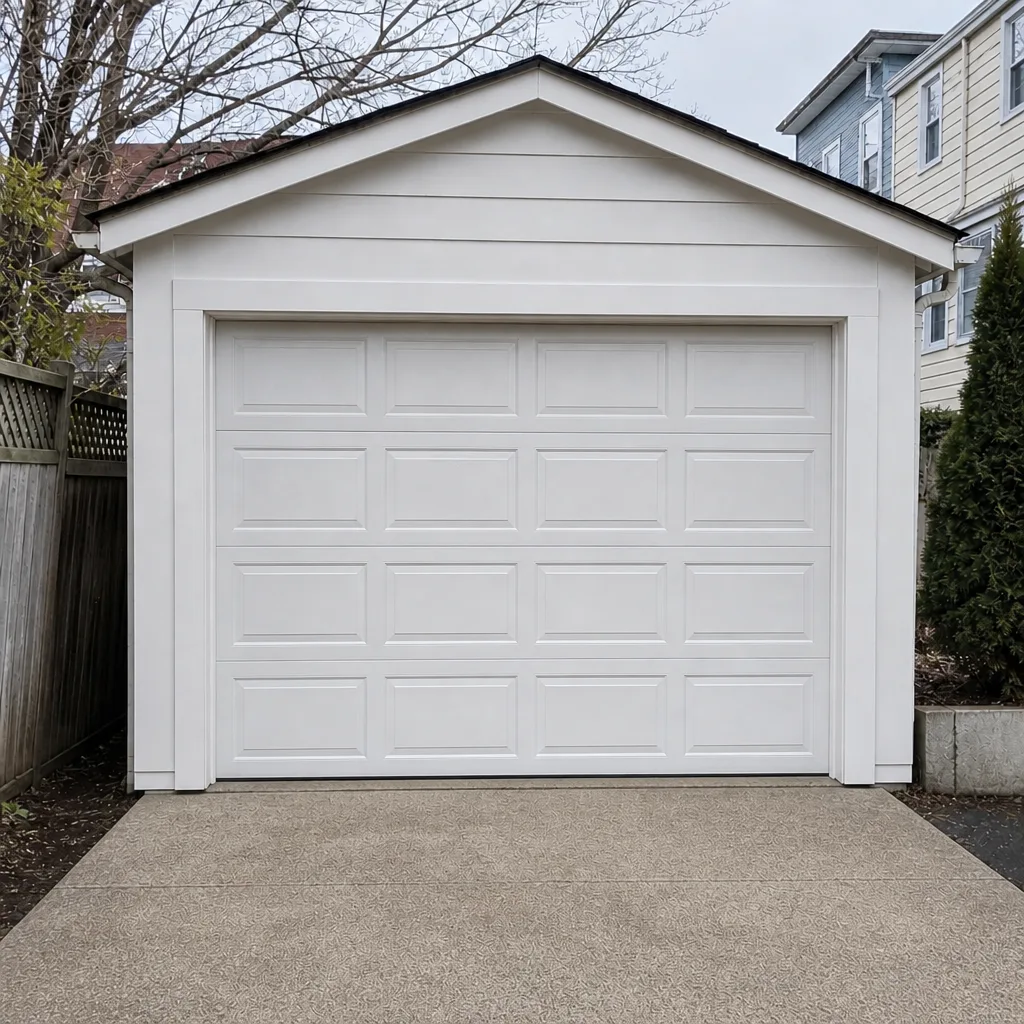 After
When to Call a Professional
Call a technician the moment a task involves springs, cables, drums, track alignment, or a door that won’t balance. Call if a DIY attempt revealed a problem you didn’t expect, if the door reverses on its own after you’ve aligned the sensors, if the opener runs but the door doesn’t move, or if a panel is bent and the door still needs to open and close safely. Call if your garage door is your primary entry to the house and it isn’t working reliably. Those are the cases where waiting costs more than calling. Ashford Garage Door Repair offers free estimates in Cambridge. Call (866) 361-7938. We answer 24/7. Fast dispatch from 7am to 7pm, Sunday through Friday.
Frequently Asked Questions
No, torsion and extension spring replacement should be done by a trained technician, because the springs hold hundreds of foot-pounds of stored force and can release violently. The low-risk jobs on a garage door – lubrication, sensor alignment, seal swaps, remote programming – are safe to do yourself. Springs, cables, drums, and track work are not. If your door isn’t balancing or you’ve found a broken spring, call (866) 361-7938 for an exact quote; estimates are free.
If the door moves unevenly, drops on its own during the balance test, or stalls partway, the problem is usually in the door’s springs or track, not the opener. If the opener runs but the door doesn’t move, check the manual release and the opener arm first. When the symptoms don’t fit one clean cause, a diagnosis is faster than guessing. Call (866) 361-7938 for a free estimate.
It’s cheaper for safe, small tasks like lubrication, sensor alignment, and remote programming, where the part cost is modest and the labor is a few minutes. For spring, cable, or track work, the tools, the time, and the risk of a callback repair usually erase any savings. On Cambridge’s non-standard garages, sourcing the right part can add extra trips too. Our estimates are free, so you can compare before you commit – call (866) 361-7938.
Stop applying force, leave the door where it is if forcing it could drop it, and disconnect the opener at the trolley using the manual release. Secure a partly open door so it can’t drop, clear the area underneath, and take photos of anything that moved. Then call for a technician. We answer 24/7. Fast dispatch from 7am to 7pm, Sunday through Friday.
Sometimes, yes. Many Cambridge garages were built to fit a specific lot rather than a standard spec, so the opening may be an unusual width or have a low header above the door. That can make off-the-shelf bottom seals and weatherstrip a poor fit. Measure the opening at its narrowest point before buying. If a part doesn’t sit correctly, that’s the point to have it looked at.
Yes. A partly disassembled door or a DIY attempt that stalled is a normal service call, and it’s not a problem to bring it to us in progress. Tell us what you attempted and share any photos of what moved. The goal is to leave the door in a safe, stable state and get it working properly. Call (866) 361-7938 for a free estimate.
The Bottom Line
The DIY-versus-professional decision for a garage door comes down to stored energy, not confidence. Lubrication, sensor alignment, seal swaps, and remote programming are within reach for most Cambridge homeowners, and doing them yourself is a sensible way to save money. Springs, cables, drums, and track work carry stored force that can release without warning, and those jobs belong with a trained technician. Cambridge’s non-standard older garages make the assessment step worth doing: measure the opening, identify the spring type, and run the balance test before you buy a part. When in doubt, leave the door stable and call. That’s what we’re here for.
Ready to stop guessing and get a written price before any work starts? Ashford Garage Door Repair handles garage door repair, opener repair, and full installation across Cambridge and the surrounding area, with free estimates and upfront pricing. Call (866) 361-7938. We answer 24/7. Fast dispatch from 7am to 7pm, Sunday through Friday.
Written by the team at Ashford Garage Door Repair.