
Last updated November 15, 2026
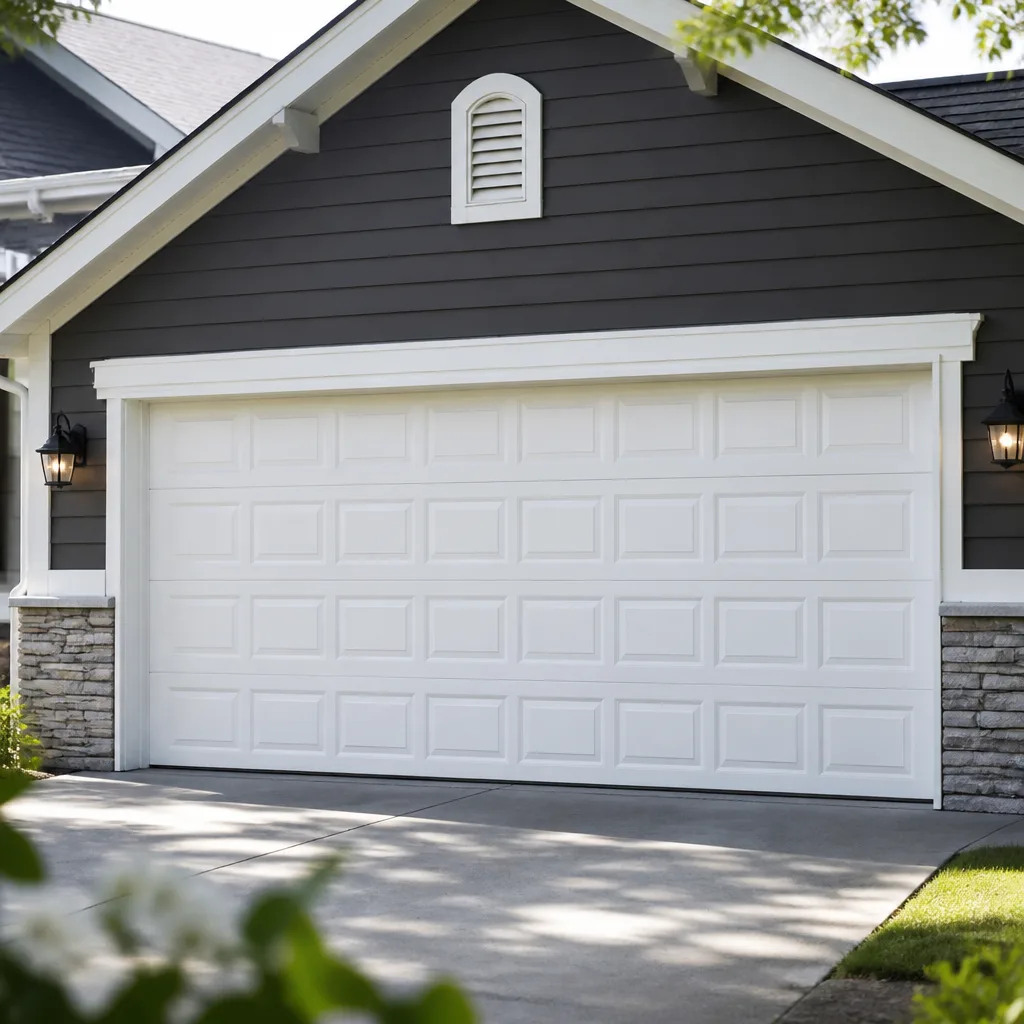 Raised-panel steel
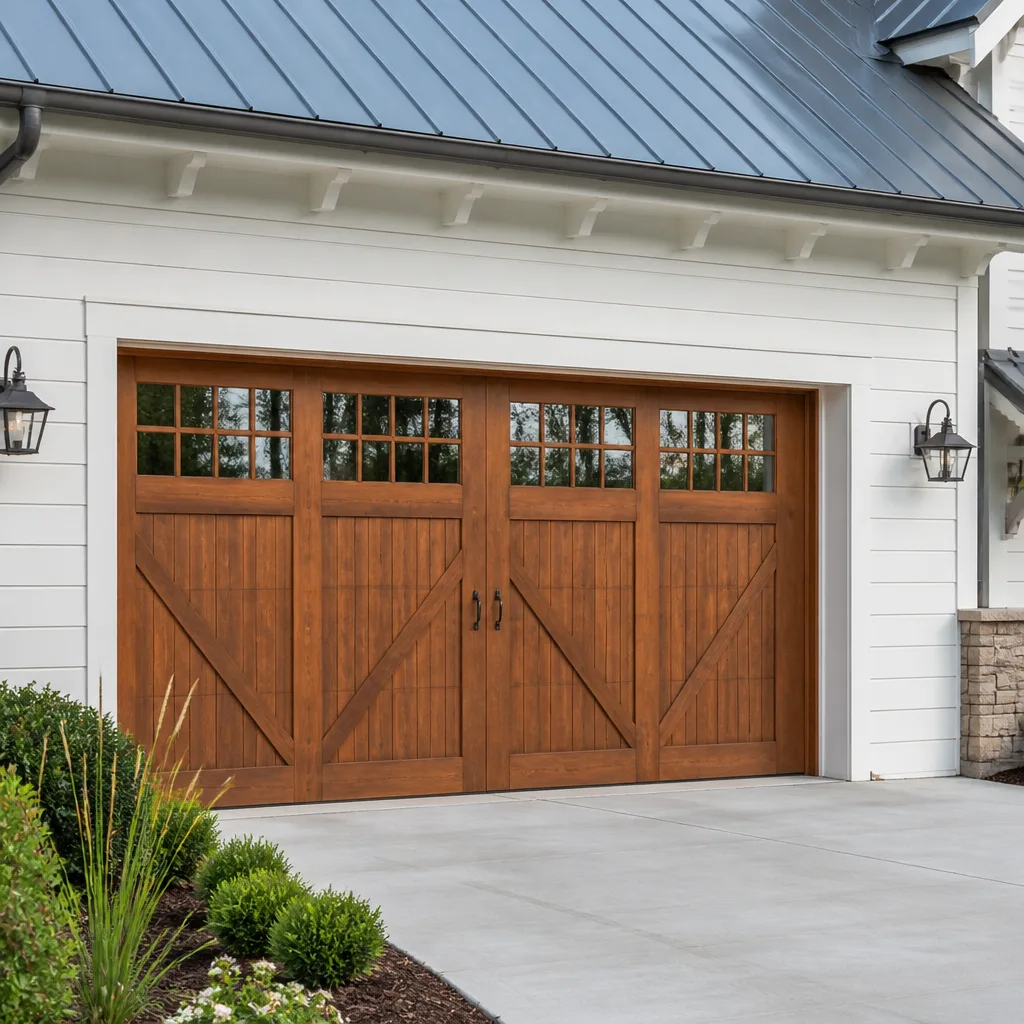 Carriage house
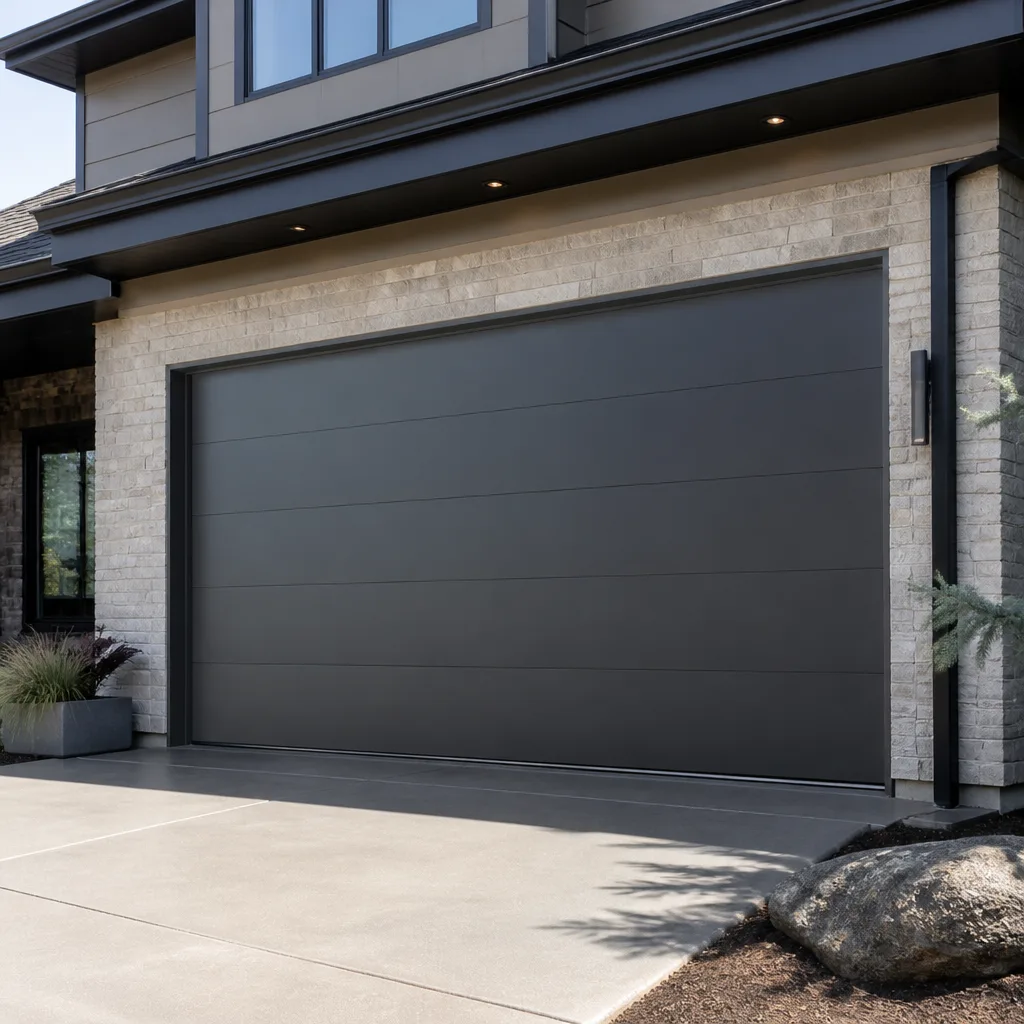 Modern flush
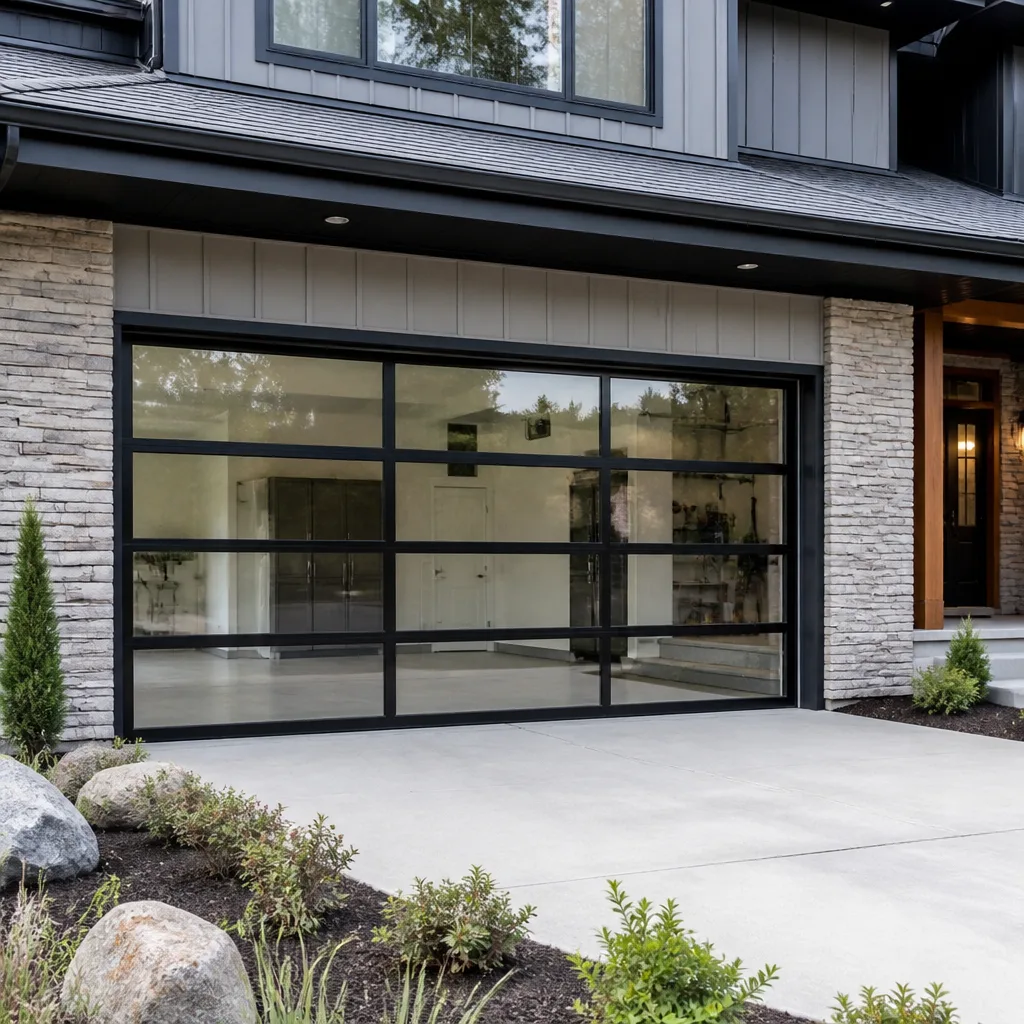 Full-view glass
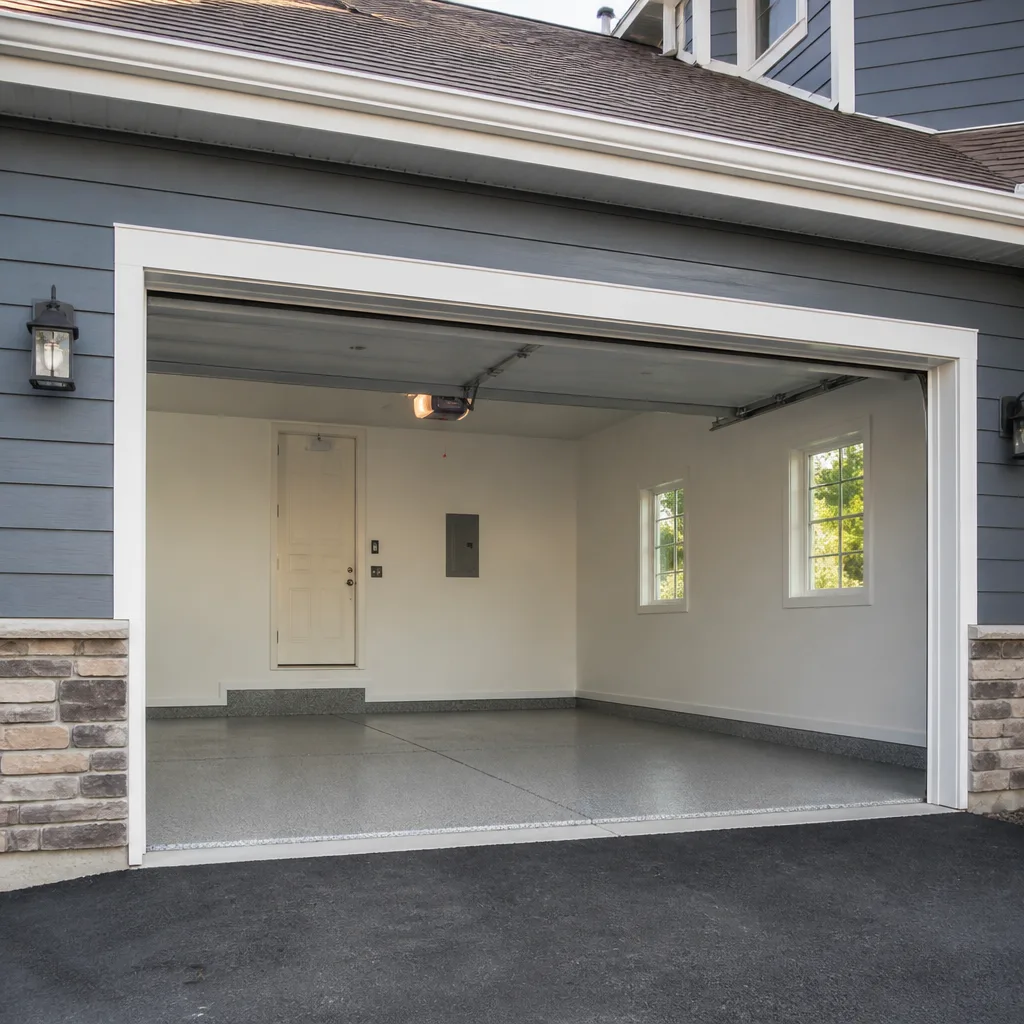 LiftMaster openers
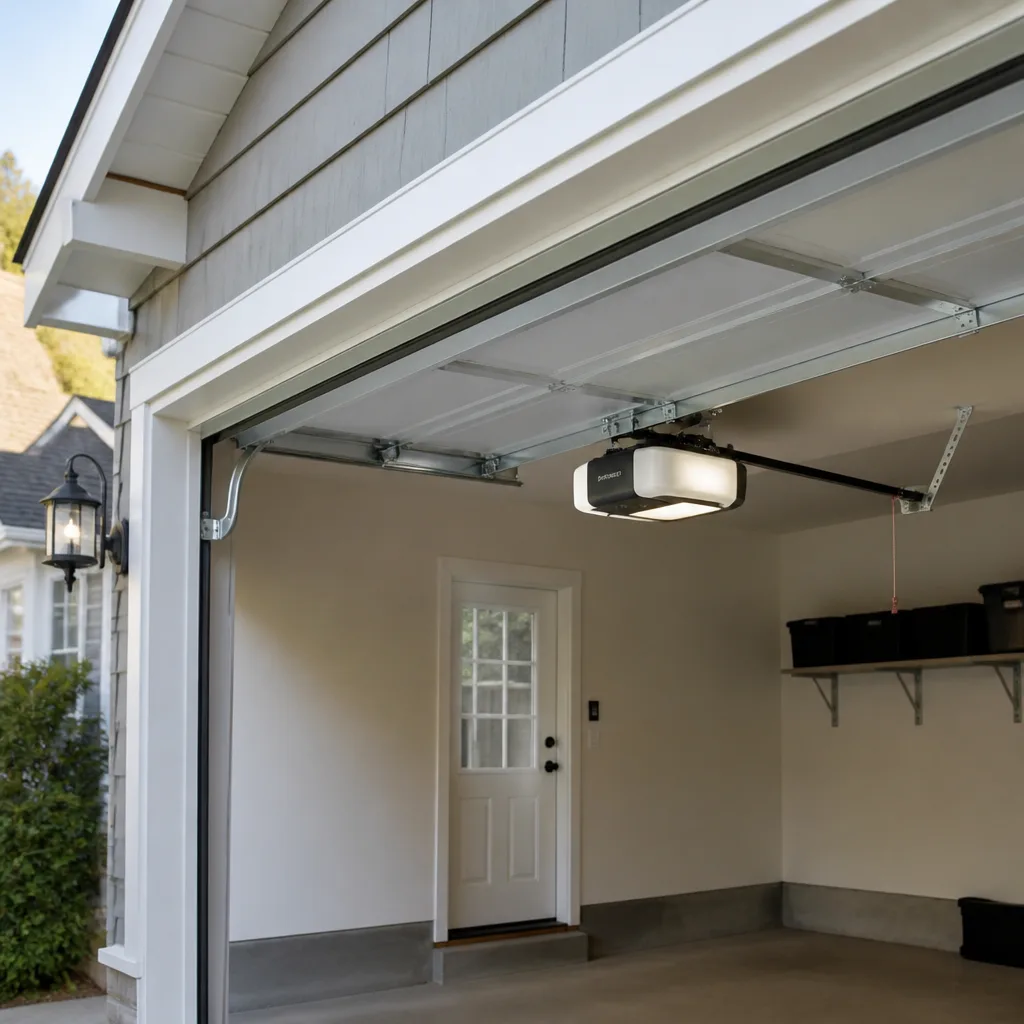 Chamberlain openers
Full 25-point door and opener safety check with every visit - springs, cables, rollers, tracks, and your LiftMaster or Chamberlain opener included
You get a price before we start. It does not change when the pro arrives.
Get your free estimateGarage Door Repair Maintenance Checklist for Cambridge Homeowners
The most skipped task on a Cambridge garage door is also the cheapest: lubricating the torsion spring shaft. It takes about 90 seconds and a can of white lithium grease costs a few dollars, yet almost nobody does it. Skipping it doesn’t fail in summer. It fails in January, when the grease has dried out, the metal is cold, and the door is fighting a shaft that’s been grinding dry for months. This guide is built around that reality. It’s a checklist timed to what actually stresses a door in Cambridge, Massachusetts – the long humid summers, the freeze-thaw winters, the salt on the roads – rather than a manufacturer’s marketing calendar. Below you’ll find what to check monthly, what to do before winter, what to do after, and how to spot a part that’s about to fail so you can schedule a repair instead of calling about a broken door at the worst possible moment.
Quick Answer
A working maintenance checklist for a Cambridge garage door has three tiers: a monthly five-minute walkaround covering lubrication, balance, and a proper auto-reverse test; a pre-winter service in October or November focused on the spring shaft, rollers, and weather seal before the cold stress hits; and a post-winter inspection in March or April to catch freeze-thaw damage, salt corrosion, and loosened hardware. Lubricate the torsion spring shaft monthly, never use WD-40 on springs, test auto-reverse with a solid object (not your hand), and log every inspection so a technician can spot a trend on the first service call.
Styles & brands we work with
- Raised-panel steel
- Carriage house
- Modern flush
- Full-view glass
- LiftMaster openers
- Chamberlain openers
Table of Contents
- The Monthly Five-Minute Walkaround
- Lubrication: The 90-Second Task That Predicts Winter Failures
- How to Test Auto-Reverse Correctly
- Reading Your Torsion Springs: The 60-to-90-Day Warning Signs
- The Pre-Winter Checklist (October-November)
- The Post-Winter Checklist (March-April)
- What to Log After Every Inspection
- Opener and Smart-System Checks
The Monthly Five-Minute Walkaround
Once a month, do a slow, deliberate lap around the door while it’s closed, then run it open and closed once and watch. The point of the monthly check isn’t to fix anything. It’s to notice change. A garage door almost never fails without warning – it gives you weeks of small signals first, and the monthly walkaround is how you catch them.
Here’s the sequence. Work through it in order each month so nothing gets skipped:
- Visual sweep, door closed. Look for bent panels, cracks at the panel seams, loose hinges, and anything hanging from the bottom seal. Cambridge’s older housing stock – triple-deckers with detached garages, brick carriage-house conversions, the tight single-car garages behind homes in neighborhoods like Mid-Cambridge and Riverside – often has doors that have been repaired piecemeal over the years, so mismatched hardware is common and worth noting.
- Look up at the springs. A torsion spring sits on a shaft above the door; extension springs run along the sides. Note any visible gap in a torsion spring coil, any rust streaks, and whether the door sits level.
- Run the door and listen. A healthy door is quiet. Grinding, squealing, popping, or a door that shudders on the way down are all signals worth logging.
- Balance check. Disconnect the opener (most have a manual release pull), lift the door halfway, and let go. It should hold in place. If it sags or drops, the springs or the balance are off.
- Run the auto-reverse test – see the dedicated section below for how to do this correctly, because most homeowners do it wrong.
Write down what you saw, even if it’s “nothing unusual.” That log matters more than most people realize, and we’ll come back to why.
Lubrication: The 90-Second Task That Predicts Winter Failures
Lubricating the torsion spring shaft is the single highest-value maintenance task on a Cambridge garage door, and it’s almost always the one people skip. It’s not the springs themselves that cause most winter trouble. It’s the shaft they ride on. When that shaft runs dry, the spring can’t wind and unwind smoothly, and every open and close stresses it a little more. Add the cold and the door is working against itself.
What to use and what to skip:
- Use white lithium grease on the torsion spring shaft, the hinges, and the bearing plates. It’s cheap, it sticks, and it holds up through a humid New England summer without gunning up.
- Never use WD-40 on springs. It’s a solvent, not a lubricant. It strips the existing grease and leaves the metal exposed. In Cambridge’s humid winters, that exposure speeds up corrosion and the failure comes sooner.
- Don’t over-lubricate the tracks. Tracks should be wiped clean, not greased. Grease in the tracks attracts grit and dust and turns into an abrasive paste. A dry silicone spray on the rollers is fine; keep the tracks themselves clean and dry.
- Avoid heavy automotive grease on the springs and hinges. It attracts dirt and thickens in the cold, which is exactly the wrong behavior when temperatures drop into the teens.
Safety note: if you’re lubricating where you can see the spring, you’re working near a component under serious tension. Torsion springs and their cables can cause severe injury if handled. Lubrication of the shaft is a low-risk task if you stay clear of the spring coils and the cable windings; if you’re unsure where to put the grease, have a technician do it. Never try to unwind, adjust or remove a spring or cable yourself.
Do this monthly. It genuinely takes about 90 seconds, and it is the difference between a door that sails through February and one that strands your car on a cold morning. If your door uses extension springs instead of torsion, the same logic applies – keep the pulleys and the pivot points lubricated and stay clear of the springs themselves.
How to Test Auto-Reverse Correctly
Most homeowners test auto-reverse by walking toward the door and stopping it with a hand, or by watching it slowly reverse when it meets resistance. Both are unreliable. A slow reversal is not a passing grade – it’s a sign the opener is meeting too much resistance, which could mean a binding track, worn rollers, or a failing opener. A proper test tells you whether the safety system trips fast and cleanly.
Here’s how to run the test correctly:
- Use a solid object, never a hand or body part. A 2×4 laid flat on the ground under the door is the standard. A full cardboard box works too. Never test with your hand or foot.
- Close the door with the opener. As it comes down onto the object, it should reverse immediately and travel back up.
- Watch the timing. “Immediately” means it reverses the moment it contacts the object, not after a pause. If it hesitates, the sensitivity is set too low or the door is binding. Either way, it needs attention.
- Test the photo-eye safety sensors separately. With the door open, wave a hand or a piece of cardboard through the beam between the two sensors at the bottom of the tracks. The door should refuse to close. If the beam is blocked or the sensors are misaligned, the door won’t close at all – which is a safety feature, but also a sign the sensors need cleaning or realignment.
- Adjust sensitivity at the opener if you’re comfortable doing so – most openers have a small adjustment dial or screw labeled for force or sensitivity. If adjustment doesn’t bring it back into spec, the opener itself may be failing, and that’s a garage door opener repair call.
Run this test monthly. It’s the one safety check that most directly protects the people and pets in your household, and it takes under a minute.
Reading Your Torsion Springs: The 60-to-90-Day Warning Signs
A torsion spring is a consumable part. It’s designed to cycle a certain number of times and then fail, and it will fail – the only question is whether you schedule it or it catches you off guard. The good news is that a spring usually gives you two to three months of visible warning before it goes.
Watch for these signals during your monthly walkaround:
- A visible gap in the coil. A torsion spring is a tight, continuous coil. If you can see daylight between coils, the spring has stretched and lost tension. That’s a strong sign it’s nearing the end.
- A door that won’t hold halfway when disconnected – or one that feels noticeably heavier than it used to. Springs lose strength gradually, so a door that used to feel balanced and now doesn’t is telling you the springs are fading.
- Rust streaks or surface corrosion on the spring. Cambridge’s humid summers and the road salt tracked in from winter driving both feed corrosion. A rusty spring is a weakened spring.
- Uneven opening. If one side of the door lifts slower than the other, the springs aren’t evenly balanced, and one may be close to failing.
- Popping or banging during operation. A pop or sharp bang as the door moves is the spring binding and releasing. That’s a symptom, not a mysterious noise.
If you see any of these, schedule a garage door repair before the spring breaks. A planned repair is straightforward; a broken spring is a door stuck in place, often with a car inside the garage, and it’s the worst time to be finding a technician.
Quick Answer: A torsion spring with a visible gap, rust streaks, or a door that won’t hold halfway is likely within 60 to 90 days of failing. Schedule a repair now rather than waiting for the break.
The Pre-Winter Checklist (October-November)
Cambridge winters are the real test. The freeze-thaw cycle, combined with the humidity the region carries into late fall, does more wear to a garage door than any other season. This is the check to do before the first hard freeze, ideally in late October or early November.
- Lubricate everything again with white lithium grease – torsion shaft, hinges, bearing plates, roller stems.
- Test the balance with the opener disconnected. A door that sags now will sag harder in the cold.
- Inspect the bottom weather seal. The rubber seal at the bottom of the door is what keeps cold air, snow, and meltwater out of the garage. Cracked or torn seals let water in, which freezes against the door and the track.
- Check the door and frame for gaps. If you can see daylight around the edges, that’s heat leaking out and moisture getting in.
- Run the auto-reverse test. Cold affects the opener’s force settings, so a test that passed in September can fail in November.
- Tighten visible hardware. Hinges and bolts loosen over the summer; snug them up.
- Look at the springs one more time and note anything you saw in the monthly checks so you can compare.
This is also the right time of year to have a technician look at the door if you’ve been seeing warning signs. Whether your door runs on a Chamberlain opener or an older Genie unit, the maintenance logic is the same – the parts that fail in winter are almost always the ones that were already telling you something in the fall.
The Post-Winter Checklist (March-April)
Once the last hard freeze is past, do a second full inspection. Winter is where the damage shows up.
- Wipe the tracks clean. Winter grit, salt residue, and grit from the road get pushed into the tracks and act like sandpaper on the rollers.
- Inspect the rollers. Worn rollers get loud and flat-spotted. If they wobble in the track, they need replacing.
- Re-check the bottom seal and side seals for cracking or tears caused by freeze-thaw.
- Look for rust on the springs, hinges, and hinges plates. If rust has started, it won’t stop on its own – lubricate and keep an eye on it.
- Re-balance test and re-run the auto-reverse test. Now’s the time to catch a spring that lost tension over the winter.
- Inspect the door panels for dents, cracks, or separation at the seams.
- Test the opener’s force and travel limits and check the safety sensors are still aligned.
Doing both the pre-winter and post-winter checks is what separates a door that runs for years from one that needs a mid-summer repair.
What to Log After Every Inspection
Here’s where most maintenance checklists fall short: they tell you what to do but not what to write down. The log is the most underrated part of the whole process, and it’s what lets a technician spot a trend instead of starting from scratch.
After each monthly check, record:
- Date and the sequence number of the check (month 1, month 2, and so on).
- What you heard and saw – “quiet,” “light squeal on the down travel,” “pop at the top of the cycle,” “door held halfway.”
- The auto-reverse result – fast and clean, or slow and hesitant.
- Any visible spring changes – coil spacing, rust, and whether the door sits level.
- The last time you lubricated the shaft and what you used.
- Anything you tightened or adjusted.
This log doesn’t need to be fancy – a notebook by the door or a note on your phone works. When you call a technician, that log tells them a lot. A single “squeal” doesn’t say much, but “squeal started in September, got louder in November, now happens only on the way down” points straight at the rollers. The log is how you get a faster diagnosis and a more accurate estimate.
Opener and Smart-System Checks
The opener is the part of the system most likely to have a connectivity story attached to it, and Cambridge homes are no exception. Smart openers from LiftMaster and Chamberlain are common, and older units from Genie and Craftsman are still running in plenty of garages. The mechanical and connectivity issues are worth checking separately.
- Check the wall control and remotes. If a remote stops working, the first thing to check is the battery and whether the wall control still opens the door.
- Test the safety sensors monthly. The photo-eye beam should be clean and unobstructed. If the beam is blocked, the door won’t close at all.
- Check the opener’s force and travel limits – these matter most after a season change, since cold affects resistance.
- For smart openers, check the app’s connection. If the door responds to the wall control but not the app, it’s a connectivity issue, not a mechanical one.
- Note any change in behavior – a door that hesitates, a light that flashes a specific pattern, or a remote that only works up close. Those are signals worth writing down and worth telling a technician about.
If your opener is failing – and after a certain point, some openers are past replacing parts – a garage door opener repair call is the right move, not a workaround. If we find the opener is genuinely beyond repair, we’ll tell you, and we can handle a full garage door installation in the same visit rather than sending you to a second company.
Common Mistakes to Avoid
- Spraying WD-40 on the springs. It cleans and strips but doesn’t lubricate, and in a humid Cambridge winter it speeds up corrosion. Use white lithium grease instead.
- Greasing the tracks. Grease in the tracks collects grit and turns into an abrasive paste. Keep tracks dry and wipe them clean instead.
- Testing auto-reverse by hand. A slow reversal doesn’t mean the system passed – it usually means the door is binding or the opener is fighting resistance. Use a solid object and check the response time.
- Ignoring a visible spring gap. A gap means the spring has stretched. It’s a 60-to-90-day warning, not a cosmetic flaw. Scheduling a repair now is cheaper and easier than a broken-door emergency.
- Not logging inspections. Without a written record, you can’t tell whether a noise is new or whether it’s been getting louder for three months. The log is what turns a guess into a real diagnosis.
- Adjusting the opener sensitivity without fixing the underlying issue. Turning up the force may get the door moving, but if the problem is a binding track or worn rollers, you’re just masking the failure.
- Letting a bottom seal go through the winter. A cracked seal lets meltwater freeze against the door and the track, and the damage compounds over the season.
See the difference
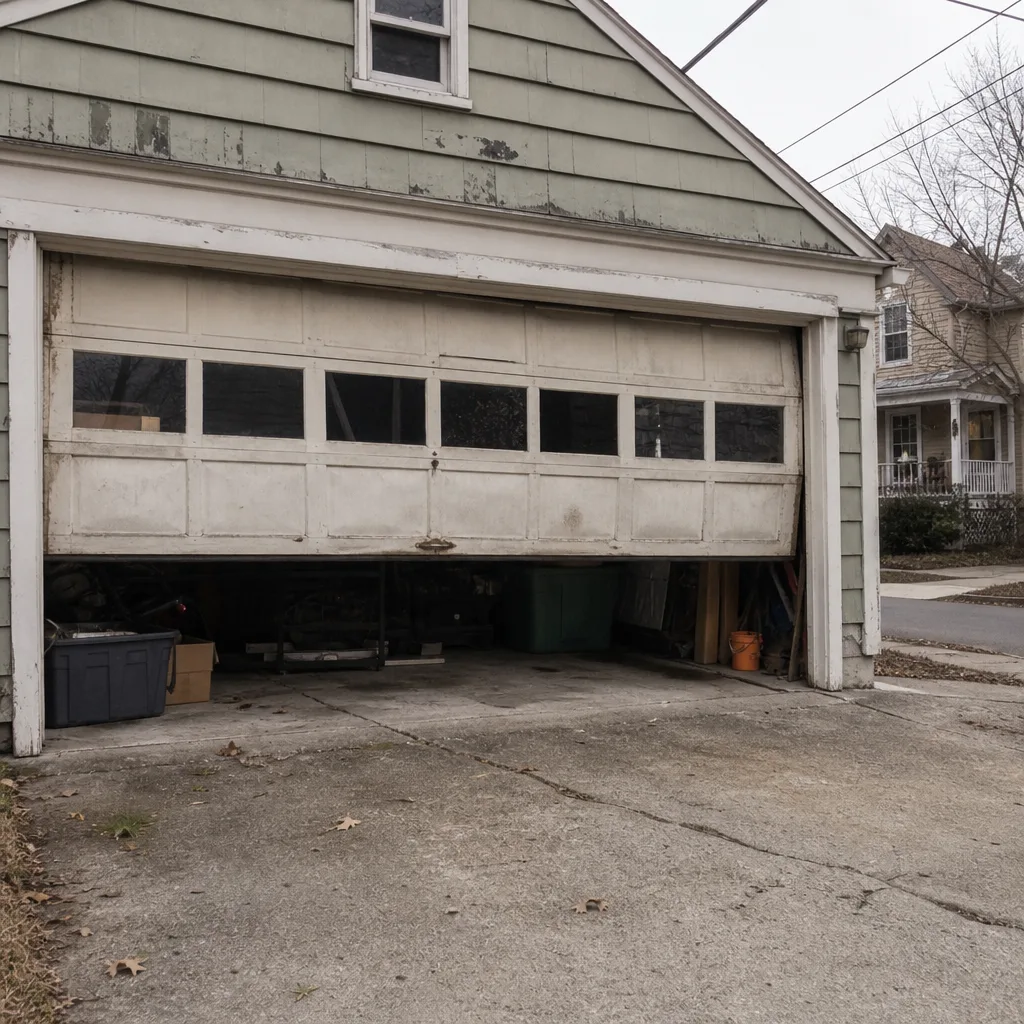 Before
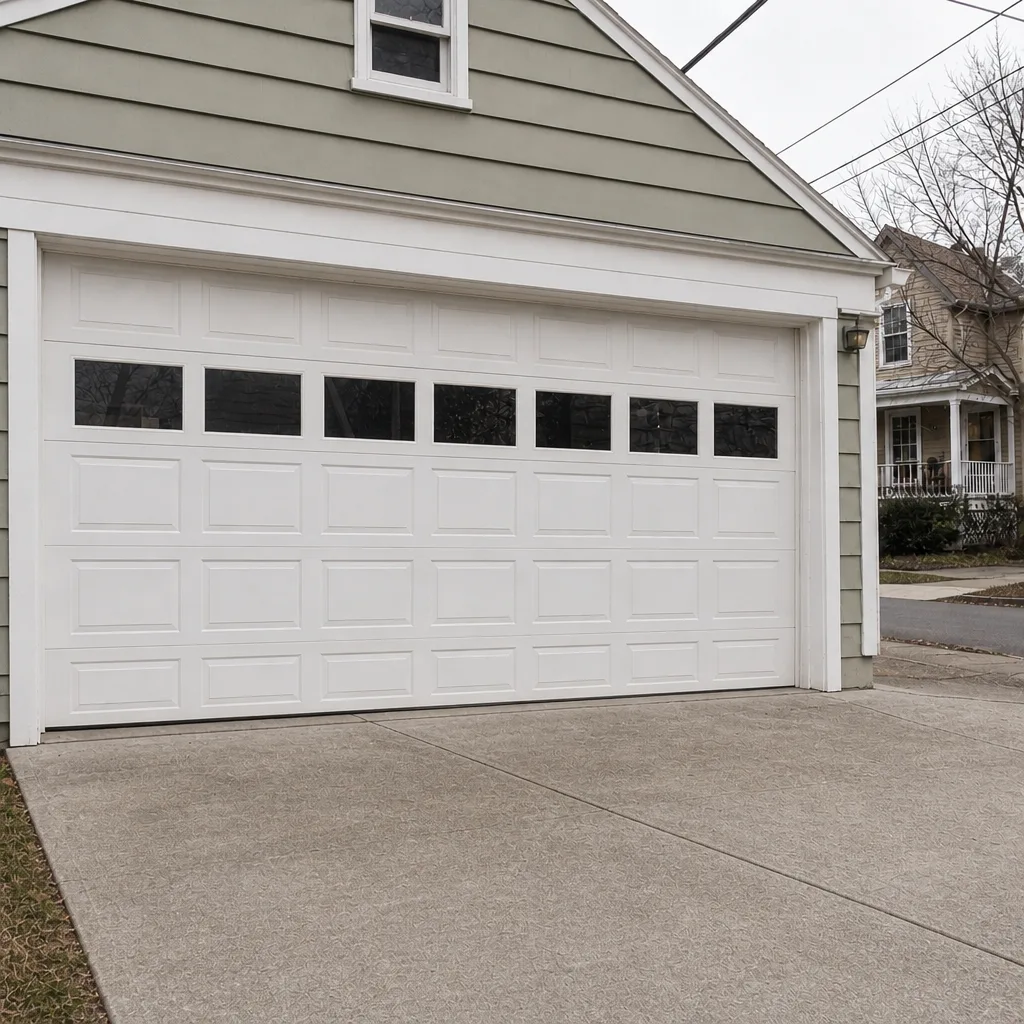 After
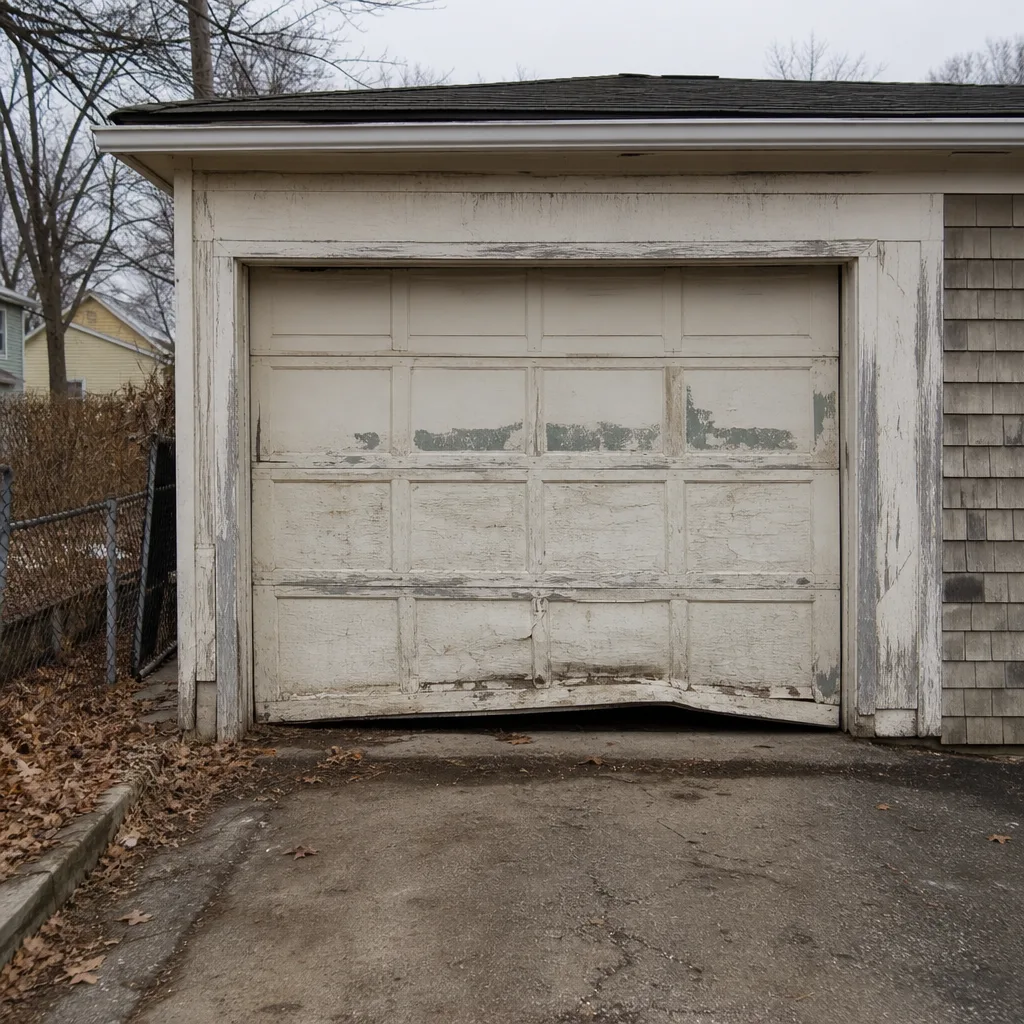 Before
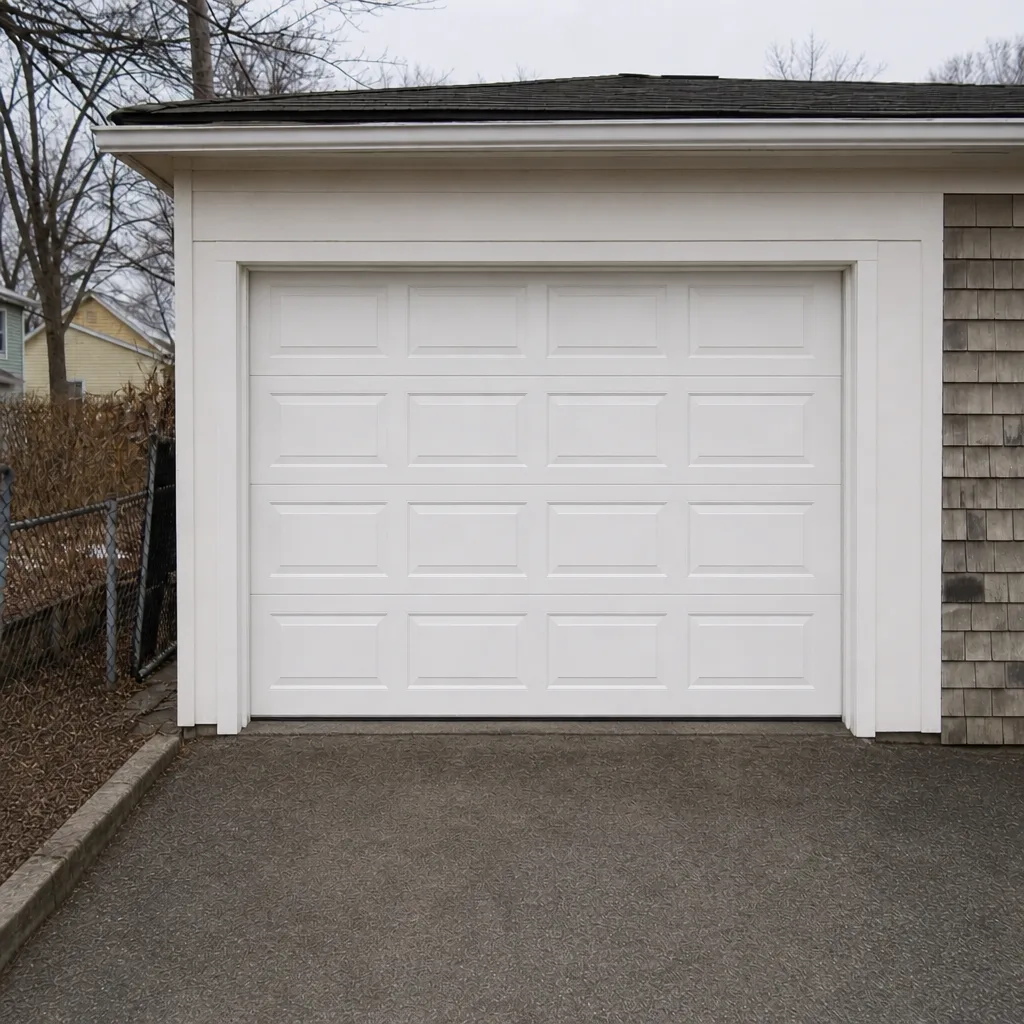 After
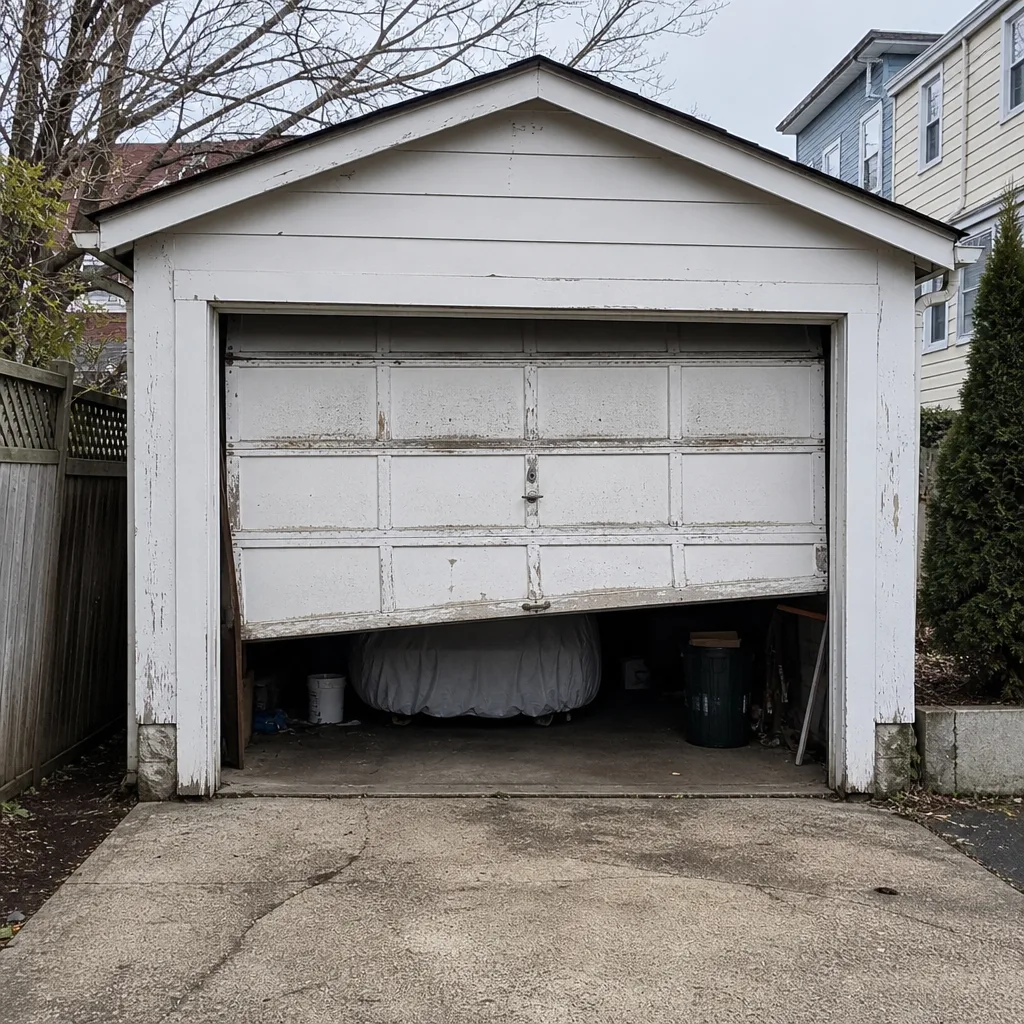 Before
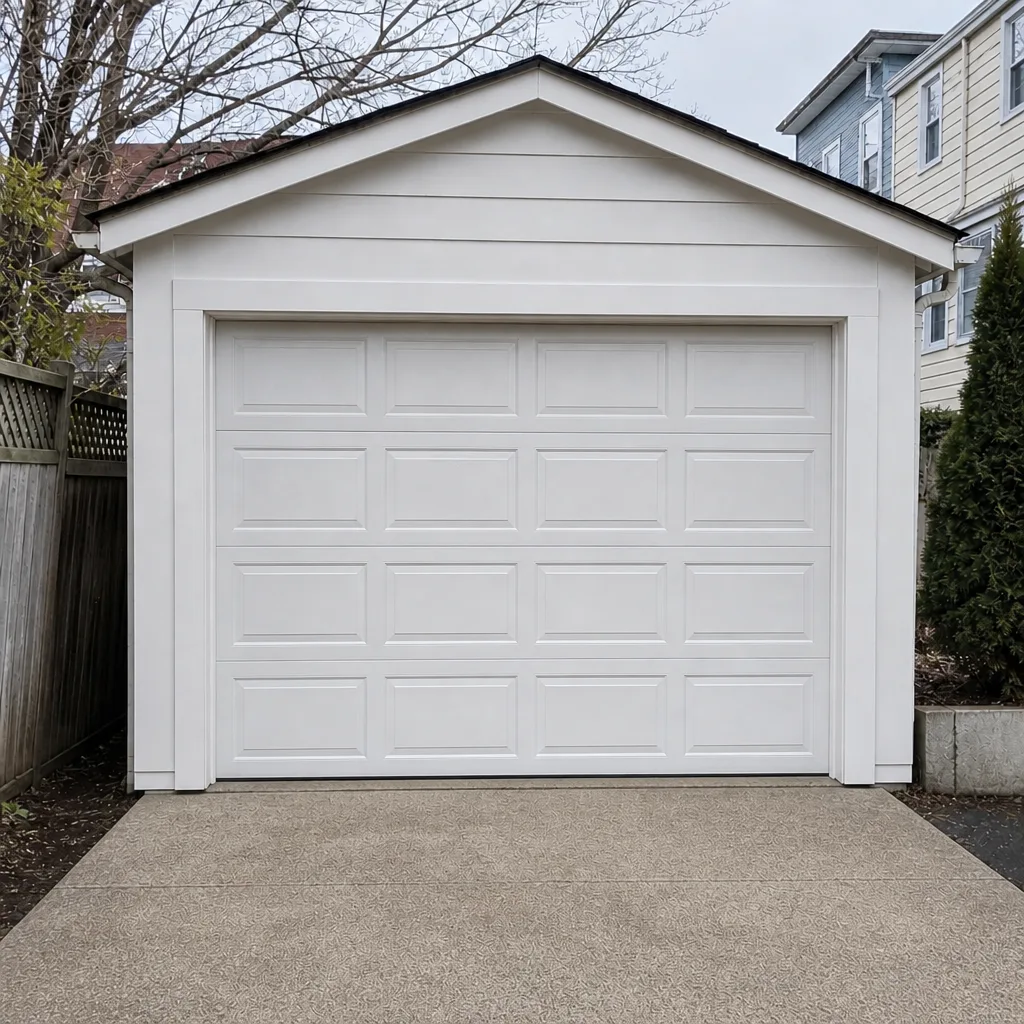 After
When to Call a Professional
Some checks are yours to do. Others are a trained technician’s job, and it’s worth knowing where the line is. Call a professional if a torsion spring shows a visible coil gap, rust, or popping – a spring under tension can cause severe injury, and adjusting or replacing one is not a homeowner task. Call if the auto-reverse fails to trip cleanly, if the door won’t hold halfway when disconnected, if a panel is cracked or bent, or if the opener runs but the door doesn’t move. In our experience, Cambridge homes with older doors and long seasonal swings run into the same handful of issues: worn rollers, faded springs, and dry shafts. Most of them would have been caught with a monthly log. Ashford Garage Door Repair offers free estimates in Cambridge – call (866) 361-7938. We work with the major systems in these homes, from Ashford Garage Door Repair service for standard doors to the LiftMaster and Chamberlain openers that many homes here rely on. If you’re not sure whether your door needs a repair or a replacement, we can walk you through the trade-offs and the cost.
Frequently Asked Questions
Most routine maintenance work – lubrication, balance checks, tightening hardware, and adjustments – is either free to do yourself or handled as part of a service call when a technician is out for a repair. A standalone maintenance visit is quoted per job, and the written estimate sets the final price before any work starts. Call (866) 361-7938 for an exact quote – estimates are free.
Once a month with white lithium grease on the torsion spring shaft, hinges, and bearing plates. Skip WD-40 – it strips the grease and speeds up corrosion in humid weather.
We answer 24/7. Fast dispatch runs from 7am to 7pm, Sunday through Friday. A call outside those hours is booked into the next opening. If your door is stuck or the spring has broken, call (866) 361-7938 and we’ll get you the earliest available time.
A visible gap between coils, rust streaks on the spring, a door that won’t hold halfway when disconnected, and popping sounds during operation. A spring showing these signs usually has 60 to 90 days before it fails. Call us to schedule a repair before it goes.
No. The written estimate sets the price before any work starts. If a technician finds an additional issue once the door is open, we’ll tell you the cost and get your agreement before proceeding – never a surprise invoice. Call (866) 361-7938 for a free estimate.
Yes. We work with the major residential brands, including Chamberlain, Genie, and Clopay, along with older Craftsman and Genie units still running in many garages. If the opener is genuinely beyond repair, we’ll tell you and discuss replacement.
The Bottom Line
A garage door maintenance checklist works when it’s built around what actually fails, not around a manufacturer’s calendar. In Cambridge, that means the torsion spring shaft, the auto-reverse test, and the two seasonal checkpoints – pre-winter and post-winter – with a written log every time. Lubricate monthly with white lithium grease, never WD-40 on the springs. Test auto-reverse with a solid object and watch the timing, not just the reversal. Treat a spring gap or rust as a 60-to-90-day warning and schedule a repair while it’s a plan instead of an emergency. Keep the log. When the door tells you something, it pays to have been paying attention. If you’ve spotted something on the checklist you’d rather have a specialist look at, call (866) 361-7938 for a free estimate. You can find our full service details for Cambridge on the main site, and we respond to every call.
Written by the team at Ashford Garage Door Repair.